

The only way to know which Pokémon are in your area in Pokémon GO is the cryptic "nearby" list, which sometimes doesn't work—and also doesn't tell you which direction to head off to hunt that Pokémon you're looking for.
Luckily, there's a new app that makes it a lot easier to find the Pokémon of your dreams and fill your Pokédex up.
Step 1: Download the App
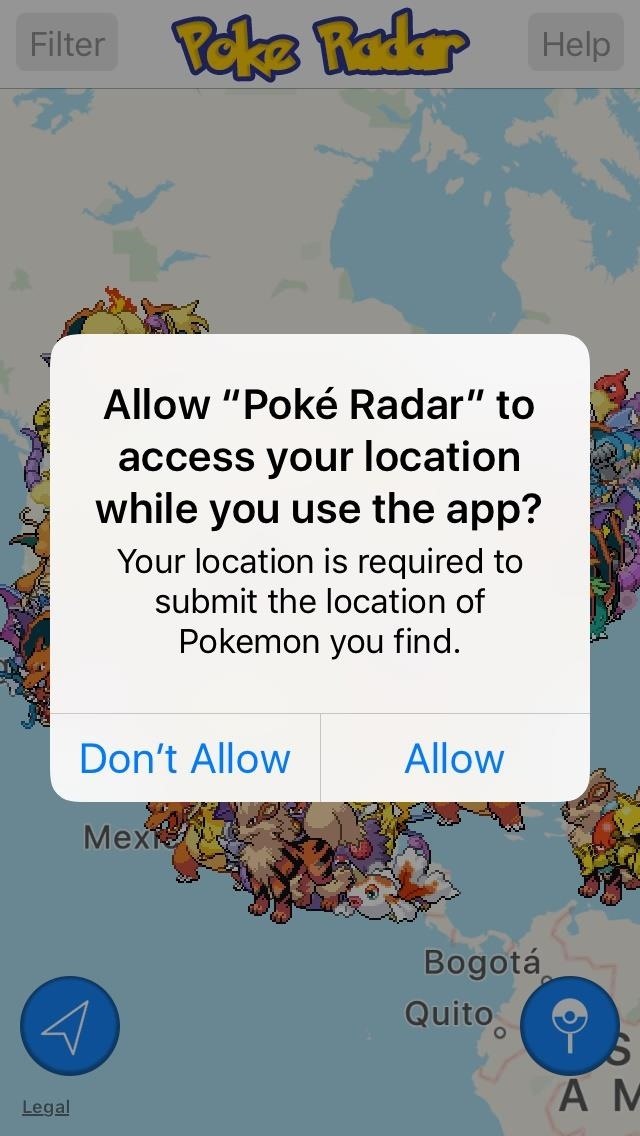
The app is called Poke Radar for Pokemon GO, a crowdsourced map that makes good use of the hundreds of players in your area hunting Pokémon. The app gives you a map of where other players have found certain species of Pokémon, which can be helpful when you're trying to round out your Pokédex.

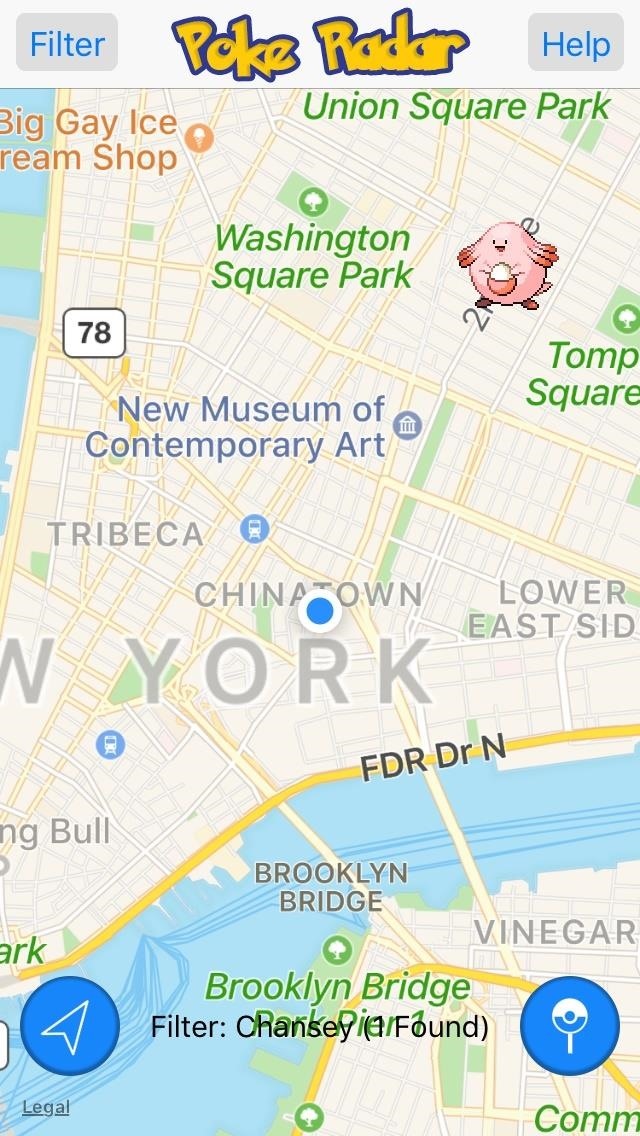
Step 2: Find What's Around You
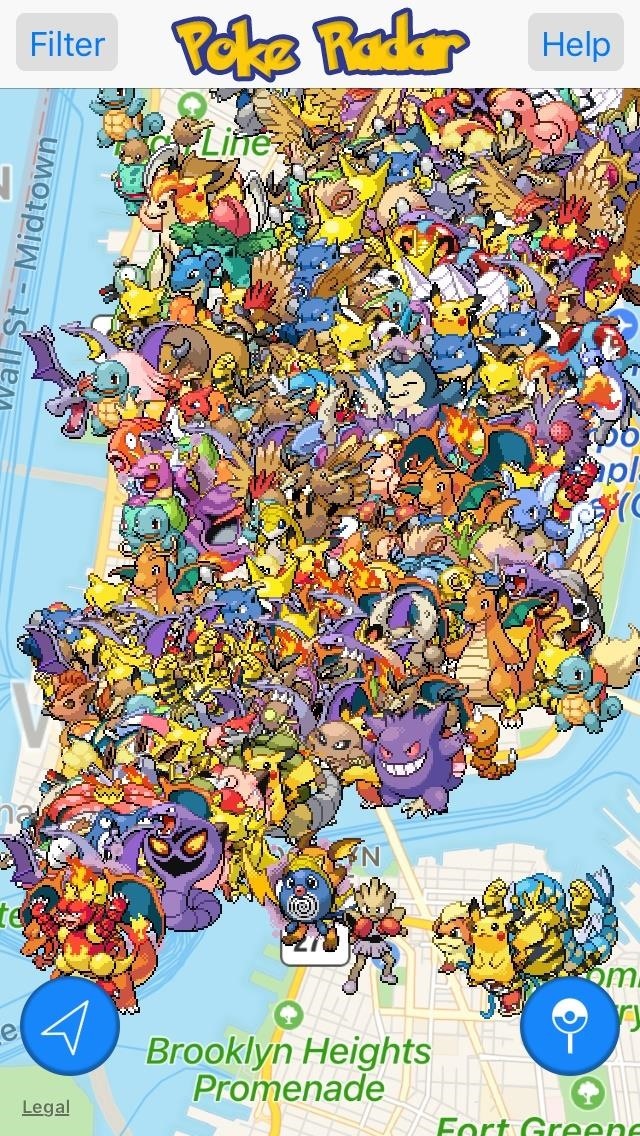
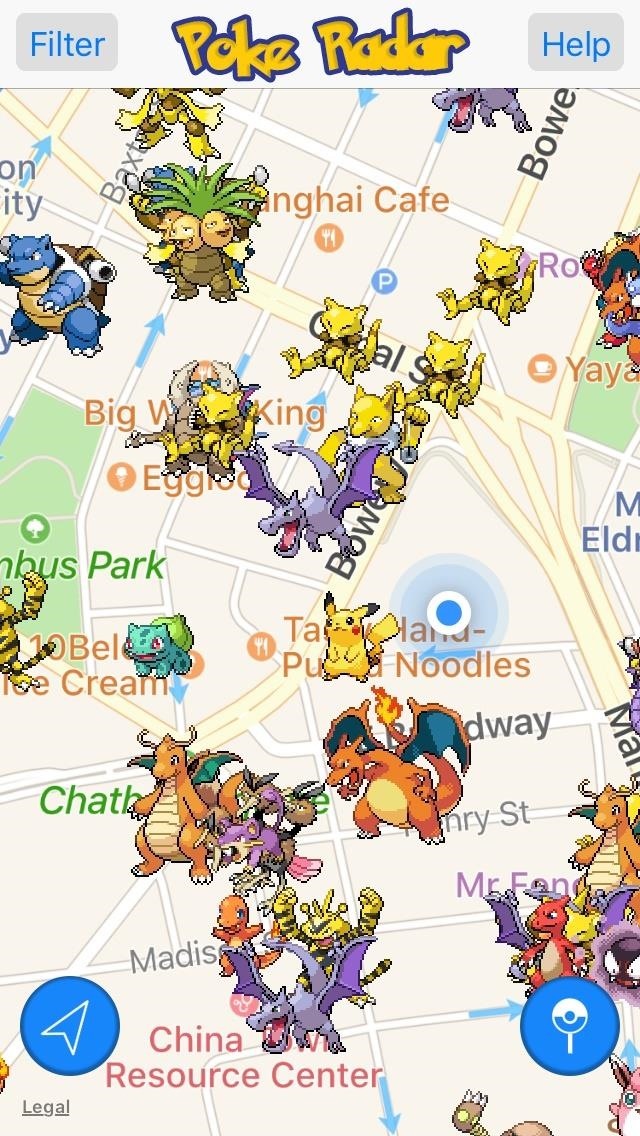
Once you download and open the app up, you're presented with a fairly simple interface layered over Apple Maps. Allow the app to access your location, and it will automatically zoom to you and show all the Pokémon that have been found in your area using your GPS. You can then zoom in and out and move around the map to find the rare Pokémon you are searching for.
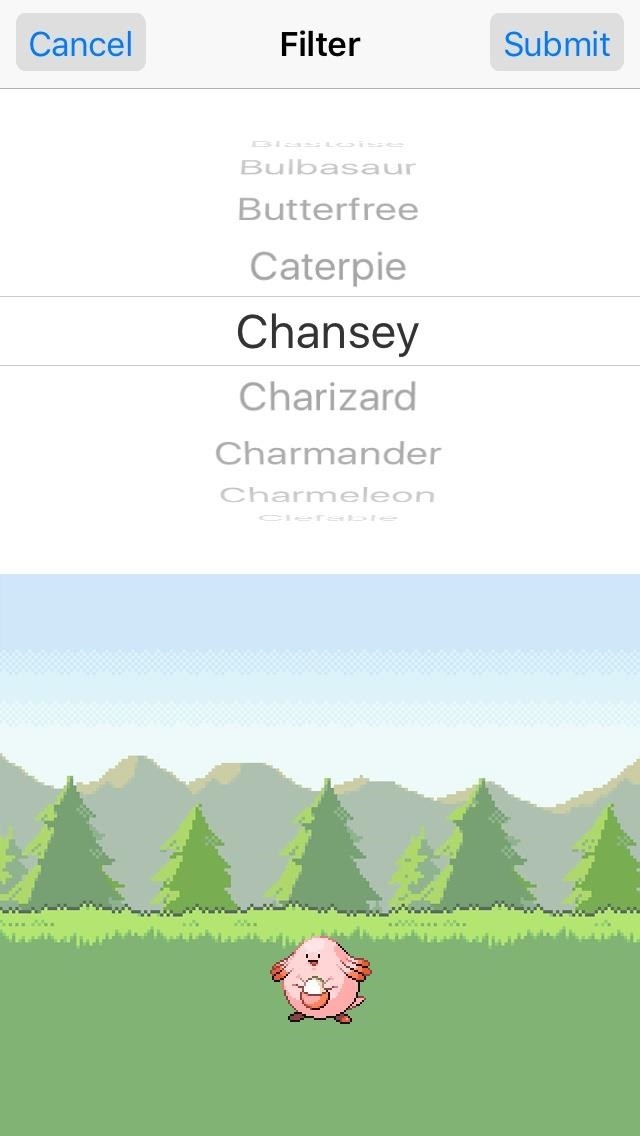
Step 3: Filter to Find What You're Looking For
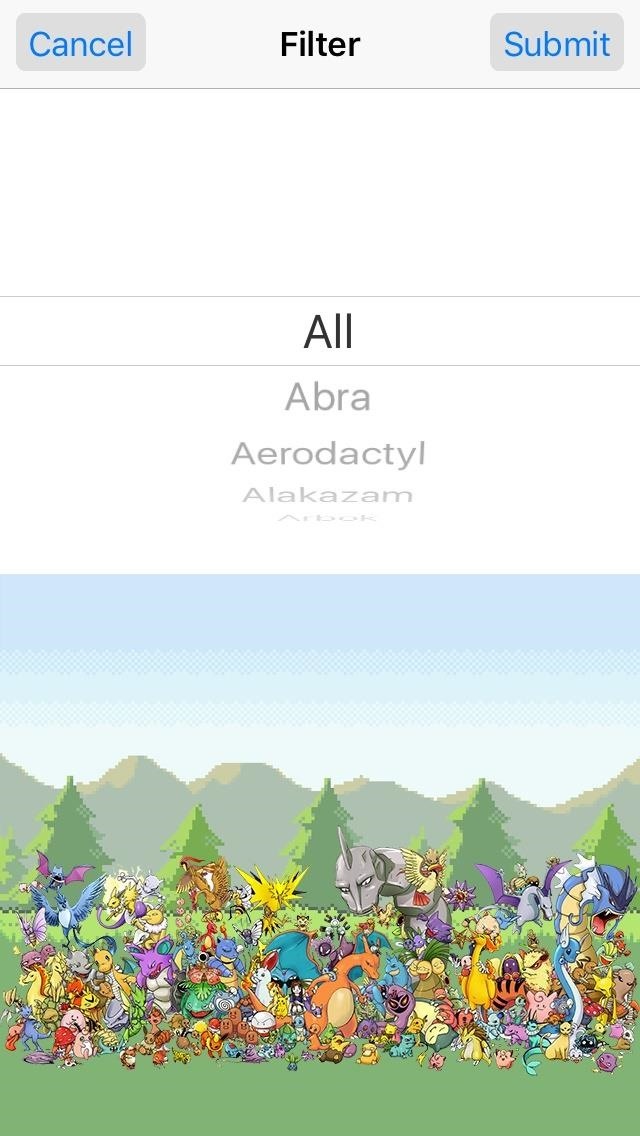
By tapping the filter button on the top left of the screen, you can scroll through all Pokémon and select one that you are looking for to see where it's been found in your area. You will then see all locations that users reported seeing that Pokémon, and by zooming in or out on your map, you can see how far you need to go to find it. Sometimes the app can be slow, and you may have to tap on filter and submit multiple times to see your character of interest.
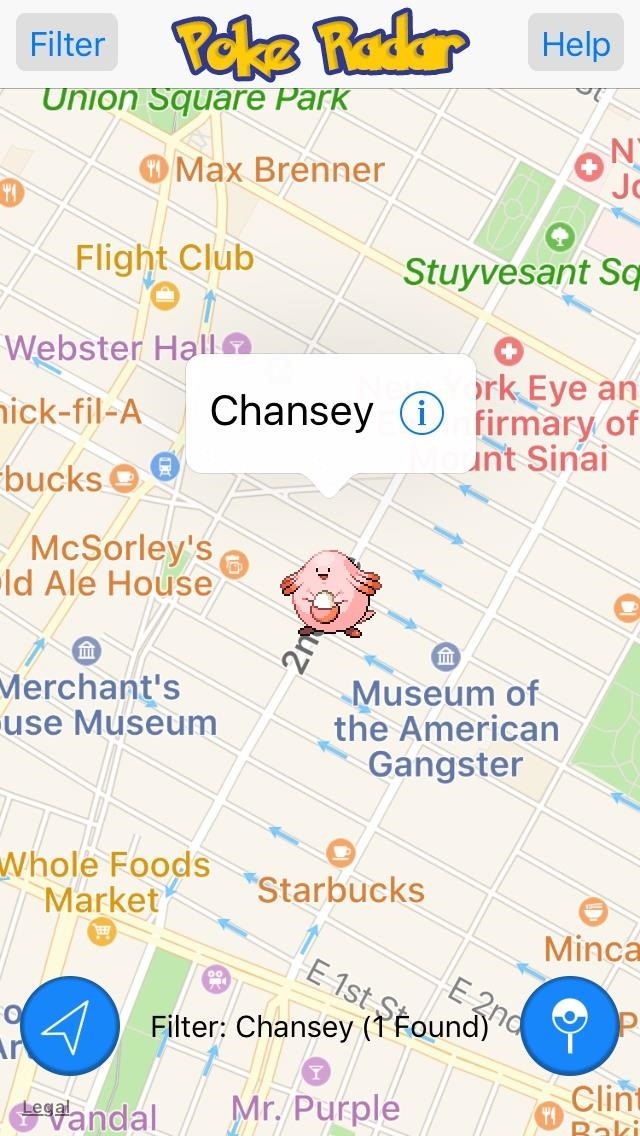
Step 4: Down or Up Vote Locations
All this map can really tell you is where other players have found certain types of Pokémon. There's no guarantee that the given species will still be in the area when you go looking. If one of the map's suggestions is wrong, you can vote the suggestion down by tapping on the Pokémon on the map, tapping the info button that pops up, then tapping "Vote Down" on the next screen to let others know that tip didn't work for you.
If it worked, you can also vote a given tip "up" to help others.
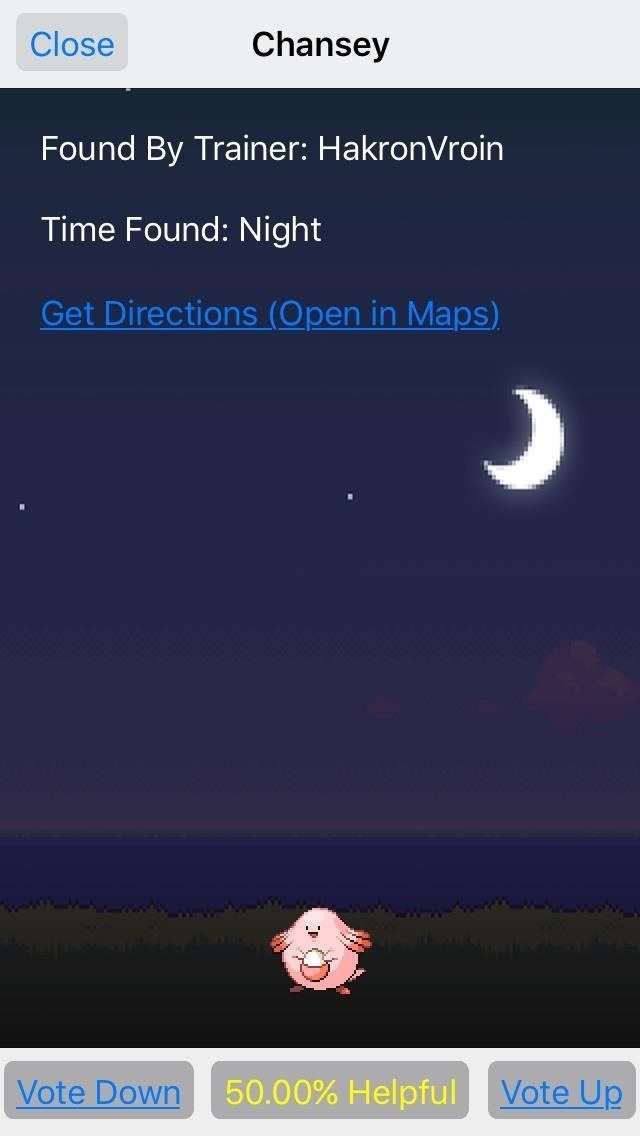
You can see how useful a given spotting is by checking the bottom middle of the screen, where it gives the percentage of people who found the tip helpful. This menu also tells you if the Pokémon was found during the day or night, which could help your searching.
Step 5: Get There
When you've located the Pokémon you're looking for on the map, the app makes it easy to get directions to it's location. Just tap the Pokémon to bring up the info page and click the link to "Get Directions (Open in Maps)" to bring up an map of the address.
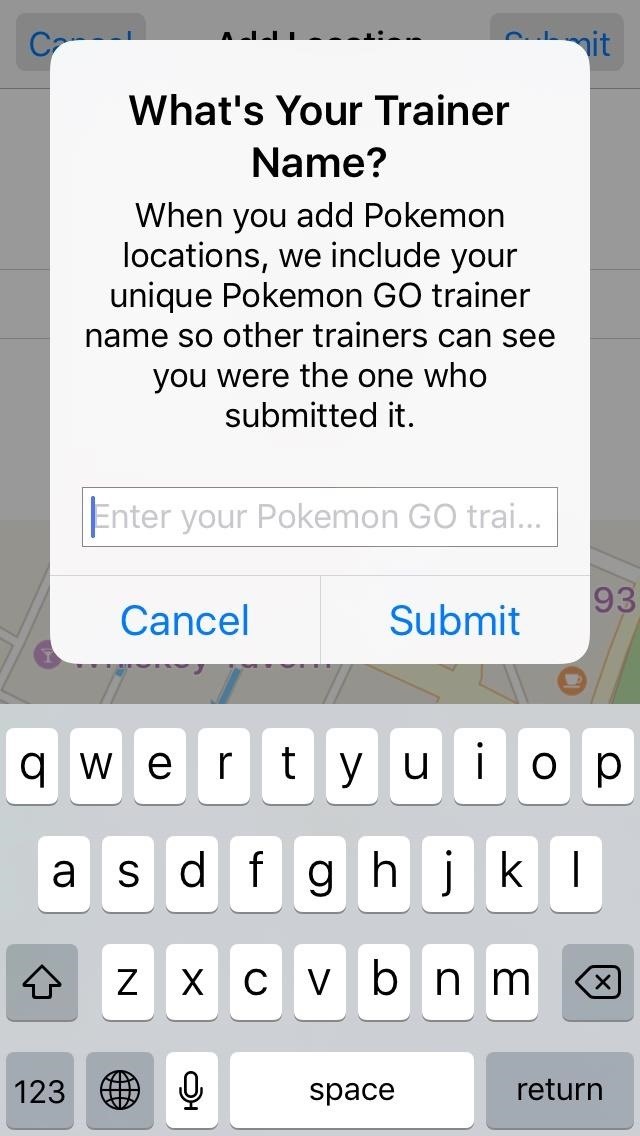
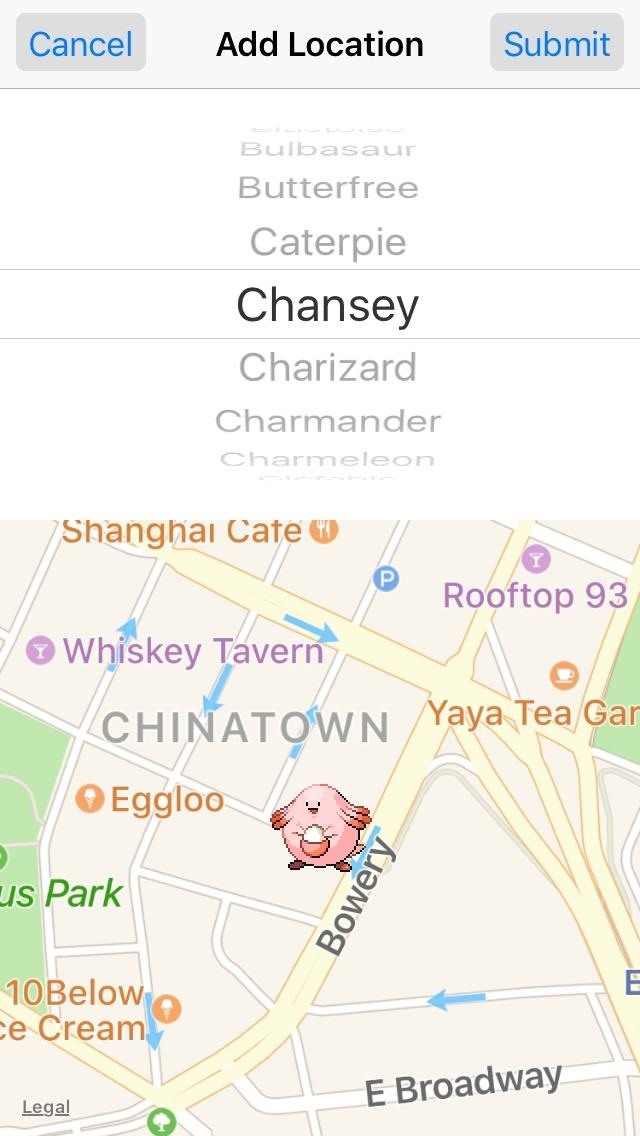
Step 6: Submit Your Suggestions
If you're using the app, it's also important to give back. If you've found some sick Pokémon and want to share where they were found, tap the button on the bottom right of the screen. You'll be prompted to enter your name, then scroll through to the right Pokémon and submit its location.
More Pokémon GO Help:
Just updated your iPhone? You'll find new emoji, enhanced security, podcast transcripts, Apple Cash virtual numbers, and other useful features. There are even new additions hidden within Safari. Find out what's new and changed on your iPhone with the iOS 17.4 update.


Be the First to Comment
Share Your Thoughts