
Many developers, myself included, use Unity for 3D application development as well as making games. There are many that mistakenly believe Unity to be a game engine. And that, of course, is how it started. But we now live in a world where our applications have a new level of depth.
With the 3D nature of augmented and mixed reality becoming an important element of our world, the development workflow becomes something new — something more complex than it was before. Developers that have been working with large scale relational databases and banking software have a good deal to learn to catch up to someone that understands the ins and outs of 3D development. A full-stack developer comes to have a new meaning.
For those new to this space, the Unity engine does an amazing job of taking some of the unnecessary complexities in 3D development out of the workflow completely. With Unity, it is a rather trivial matter to break down a project into the objects you need and their interactions with each other as well as how they interact with the user. Which in the end, is exactly what software development is.
Along with the release of Apple's new ARKit, Unity announced their Unity ARKit Plugin to help developers use their environment to build for iOS and macOS hardware. This incredibly useful starter kit includes examples of some of the more advanced areas of the new iOS functionality, like surface detection.
In order to help ease our newest members to the AR/MR development community — you know the ones joined, whether or not they yet realize it, when they saw the Apple keynote — into the Unity workflow, here I present you with a tutorial on the steps needed to get the examples in the in the Unity ARKit Plugin working.
Please see the previous tutorial for getting Xcode and the other needed tools installed. This tutorial will assume you have completed it.
Step 1: Install Unity 2017.3
So first we need the correct version of Unity installed. If you do not currently have it installed, download Unity 2017.3 and install it on your Mac.
Step 2: Download the Unity ARKit Plugin
Now we need the Unity ARKit Plugin. For those that like to get involved in open source communities, you can get it directly from Unity's Bitbucket website. Or you can simply download this Unity Package.
Step 3: Start a New Unity Project
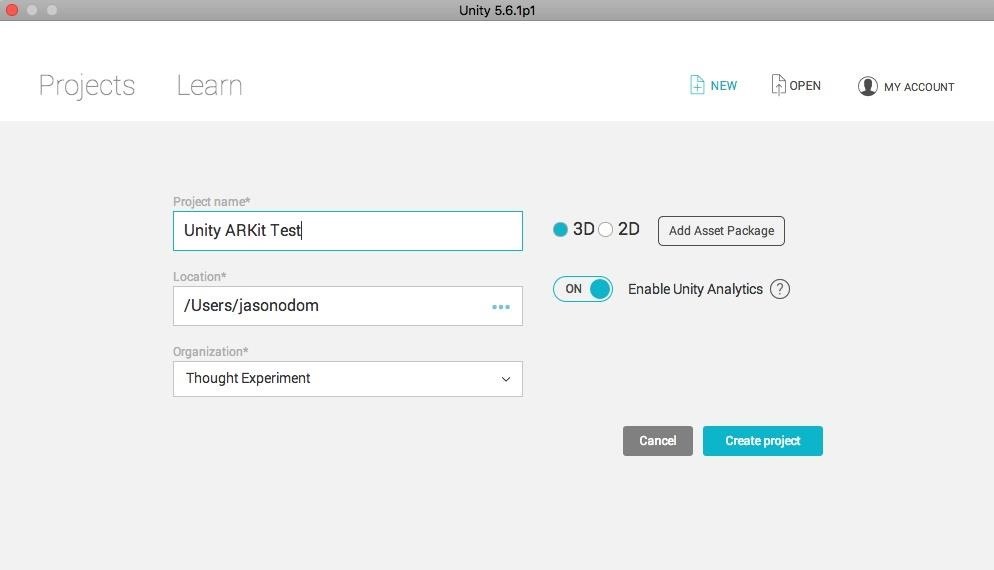
With Unity installed and the new Unity ARKit Plugin downloaded, click on the Unity icon that is on your dock and wait for the welcome screen to appear. Click on "New" and enter a name into the "Project name" box. Once that is done, click on the "Create project" button.
Step 4: Install Unity ARKit Plugin into New Project
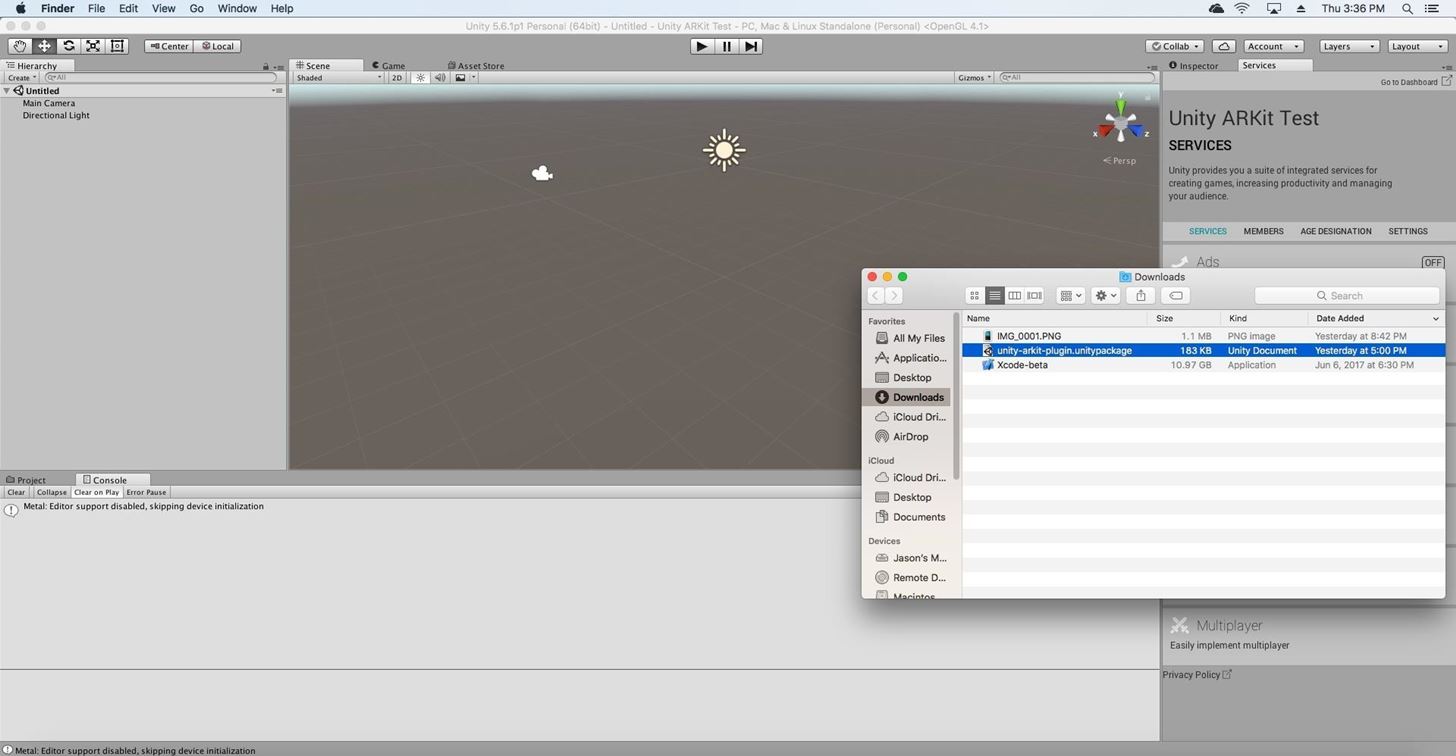
So we need to install the Unity ARKit into our project. This package has a few examples in it, one of which we are going to compile here. Pull your finder window with "unity-arkit-plugin.unitypackage" to the front.
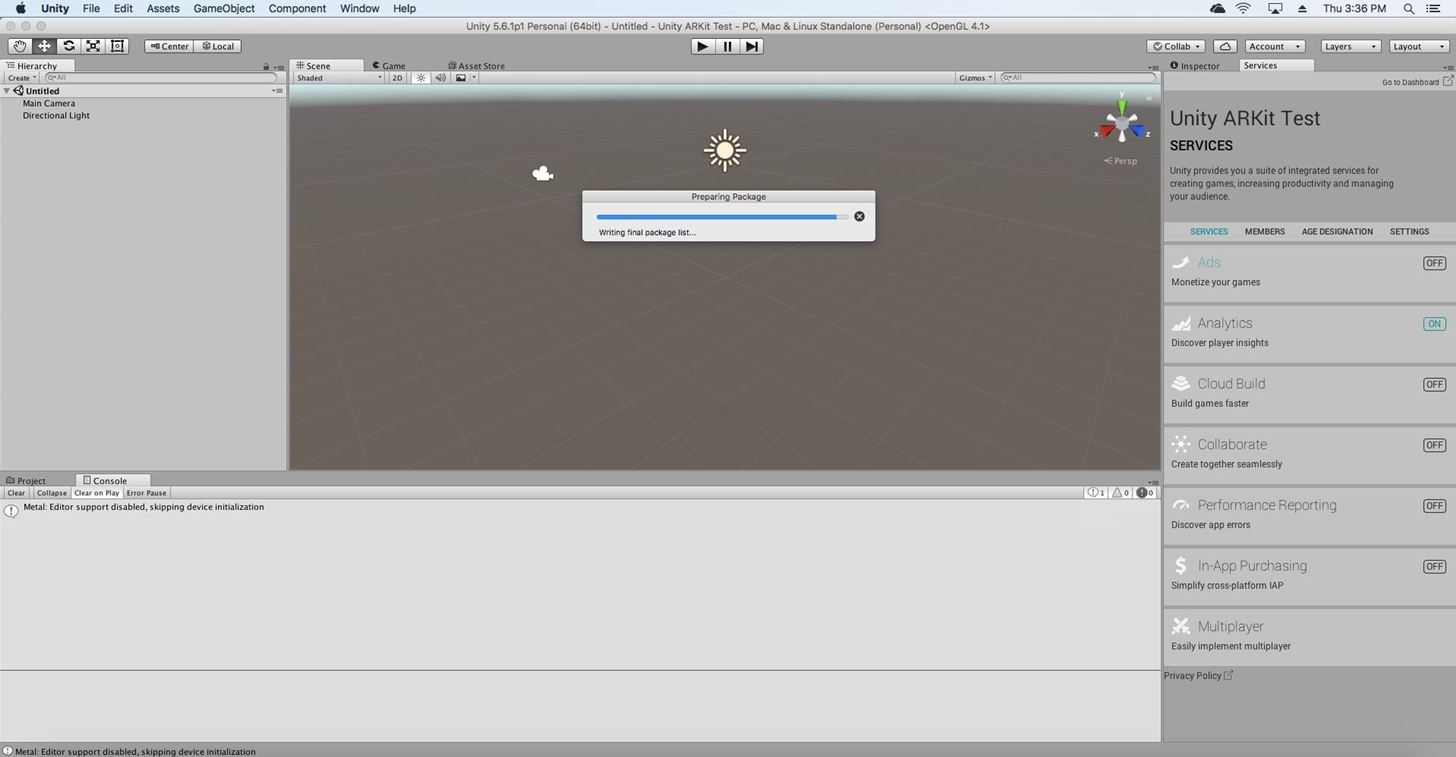
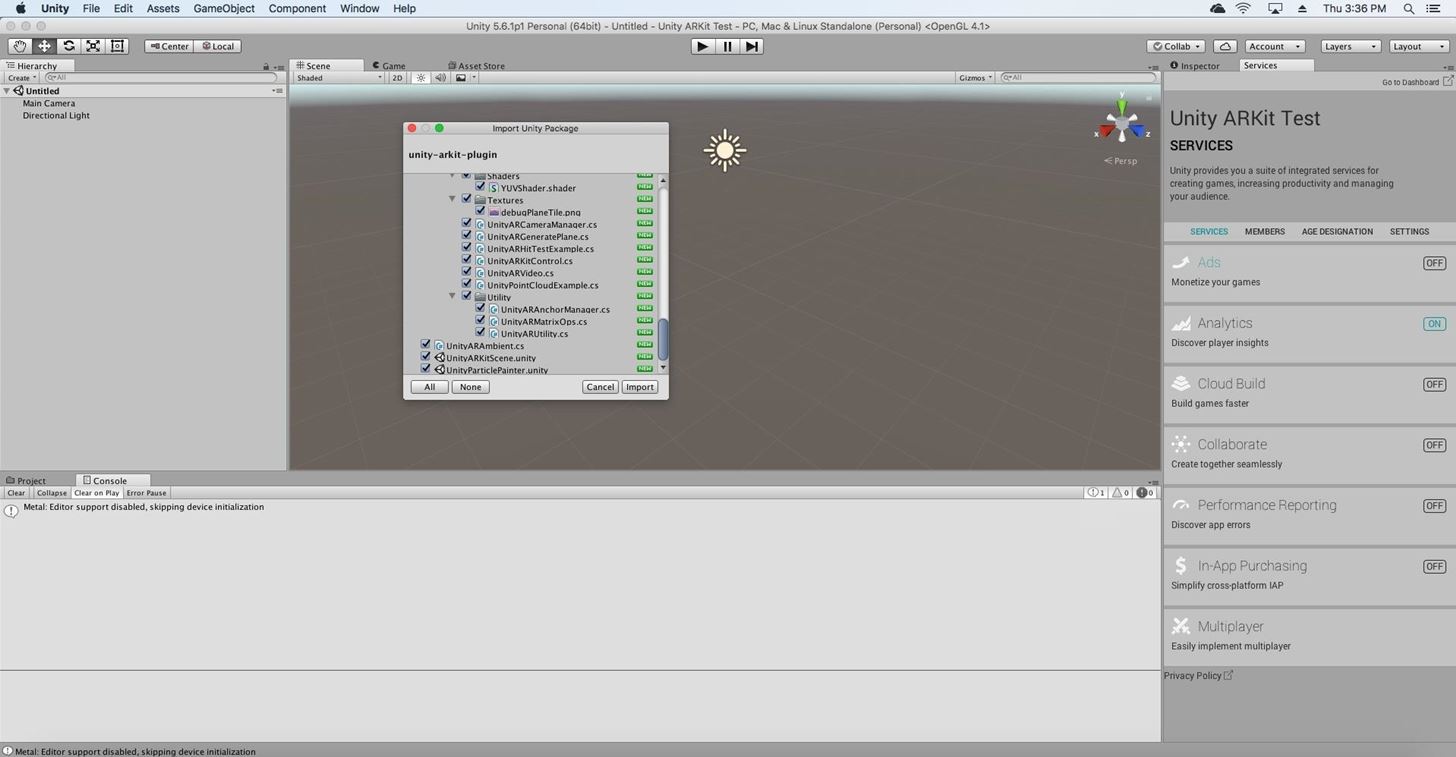
Double-click the "unity-arkit-plugin.unitypackage" file and a progress bar should appear as it is unpacked.
Once it's finished, a window will appear with all the files in the package. Click on the "Import" button.
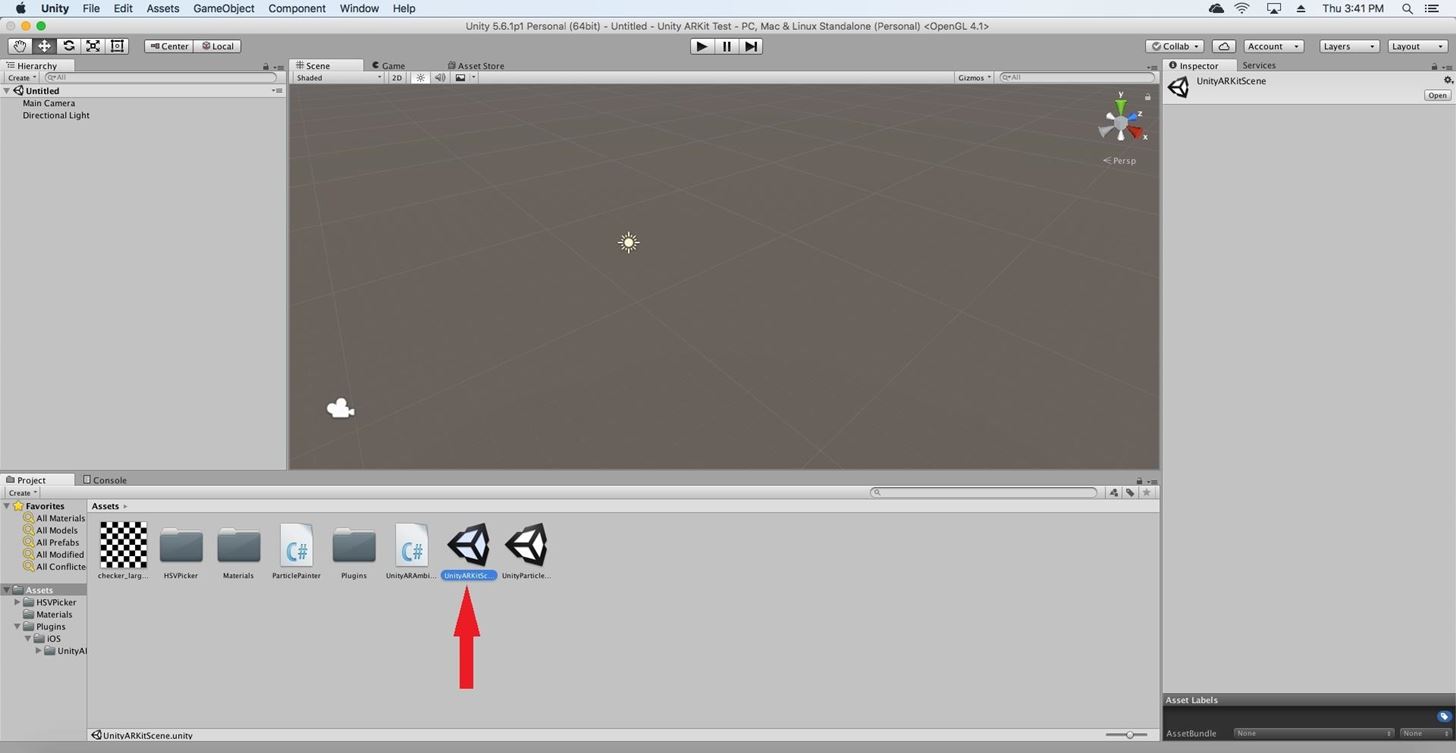
In the Project window, double-click the "UnityARKitScene" file.
Step 5: Final Setup & the Build Process
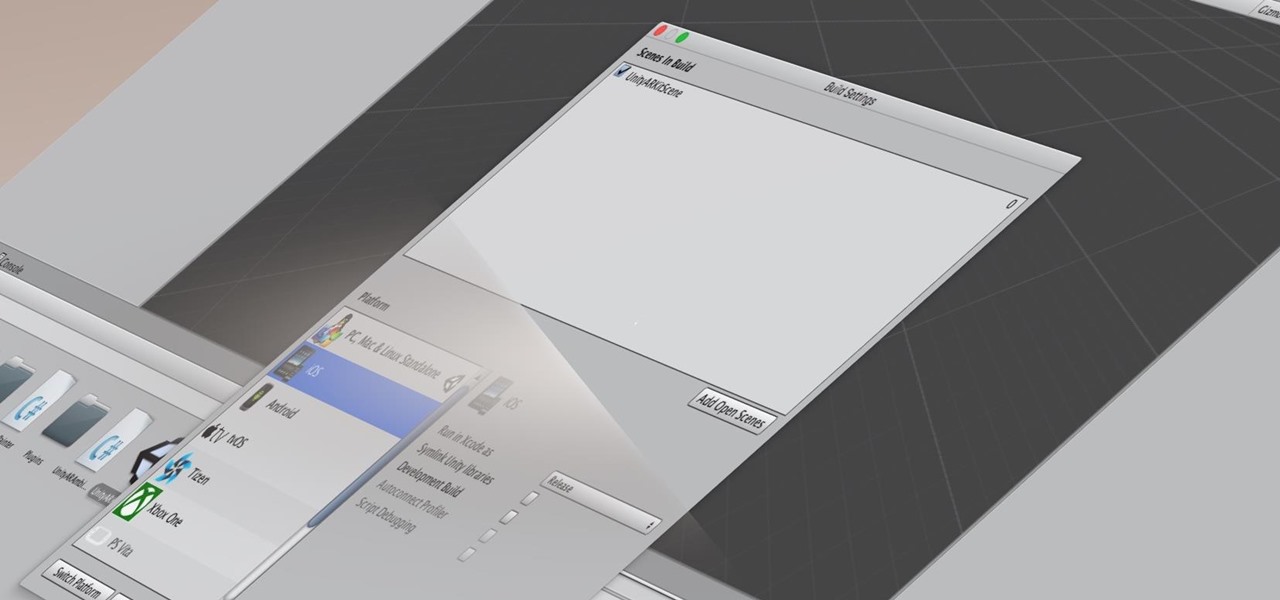
Now that we have the correct scene loaded we can set up the build process. First, we need to bring up the Build window which can be done by either pressing Shift+Cmd+B or clicking on File -> Build Settings.
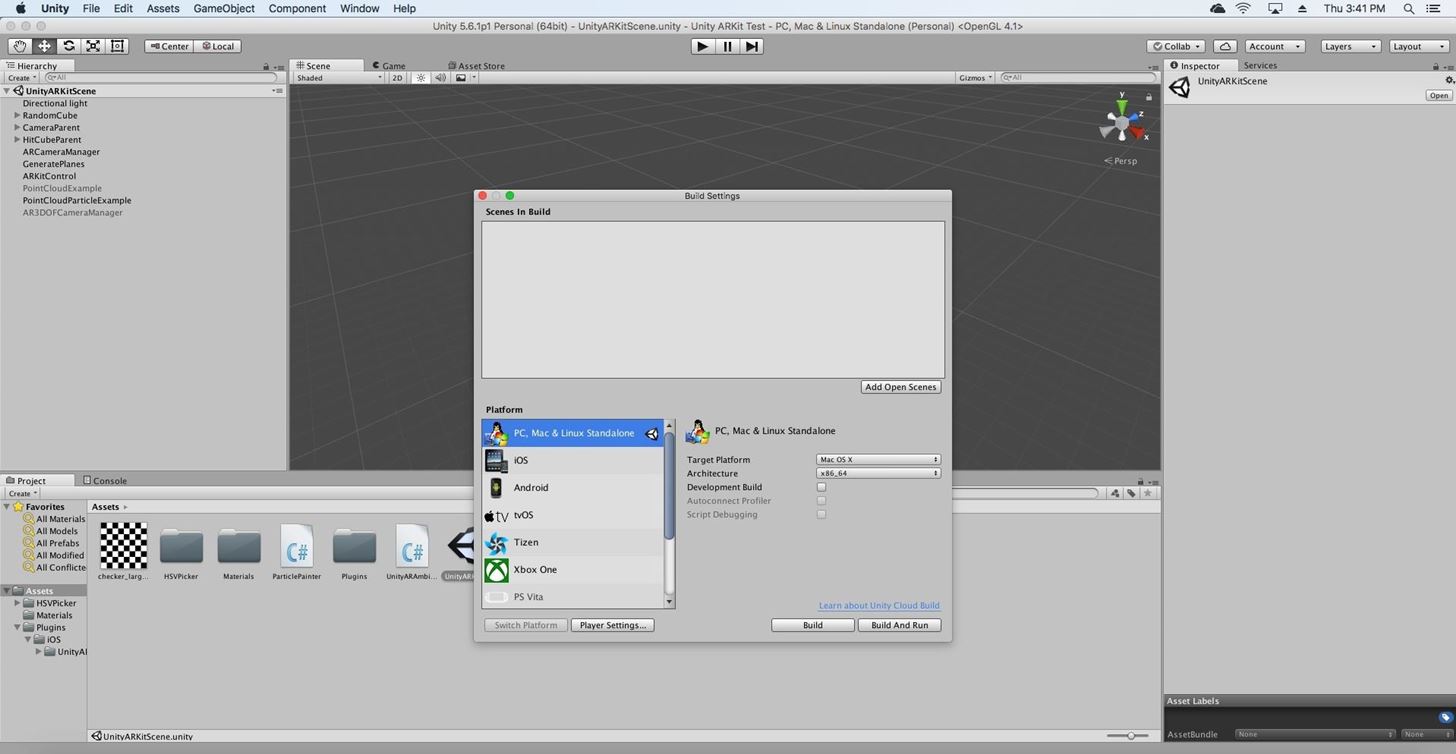
In Build Settings menu, select "iOS" as the Platform, then click the "Switch Platform" button in the lower left corner of the window. Nexst, click the "Add Open Scenes" button, then click the "Player Settings" button.

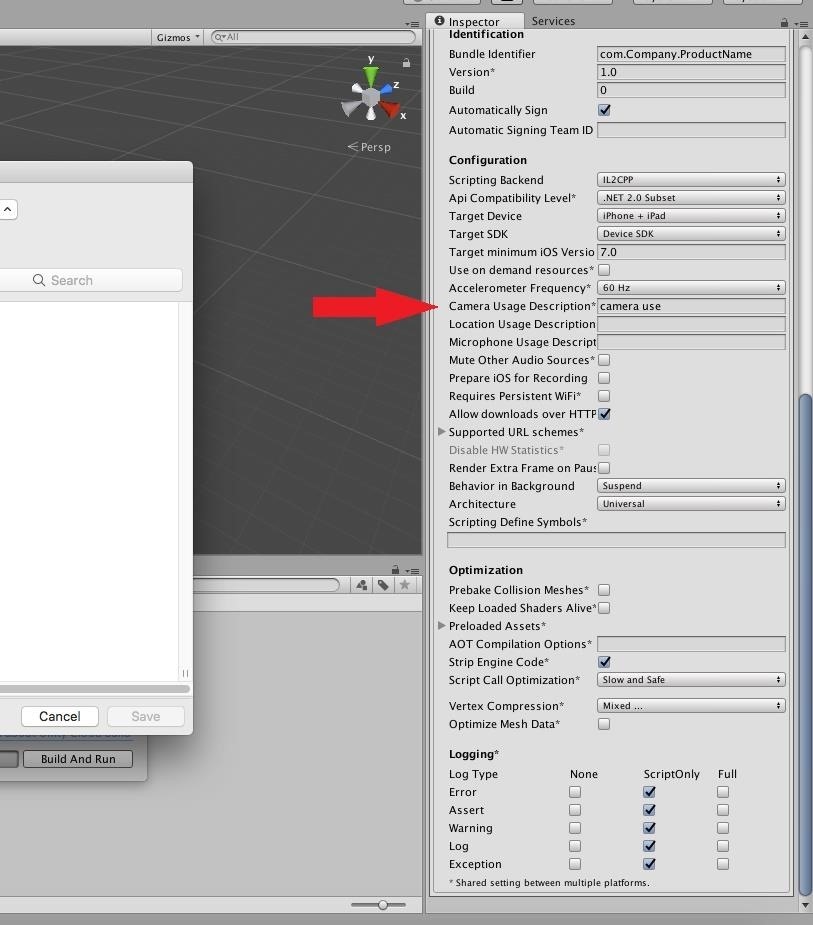
With the Player Settings up in the Inspector, find the Camera Usage Description and type "camera use" into it. Then back in the Build Settings window, click the "Build" button.
Now Unity wants to know where to put your Xcode project. In the Save As box, type "App" and click the "Save" button.

When the build process completes, a Finder window will appear. Double-click the "App" folder.
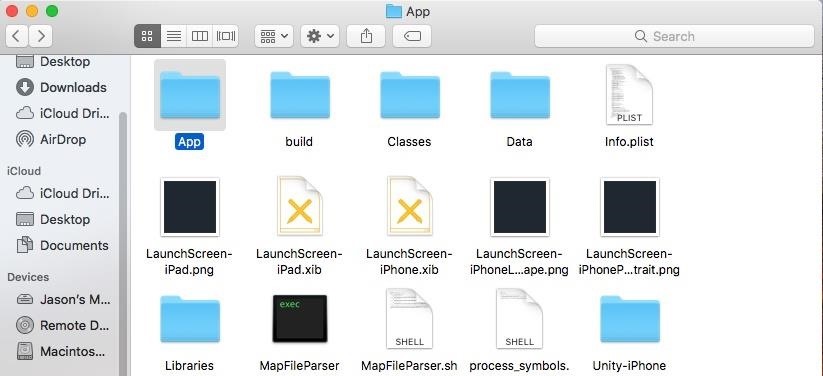
And finally double-click the "Unity-iPhone.xcodeproj" file to open it up.

Step 6: Compile & Run
You should now be seeing a screen similar to the one below.
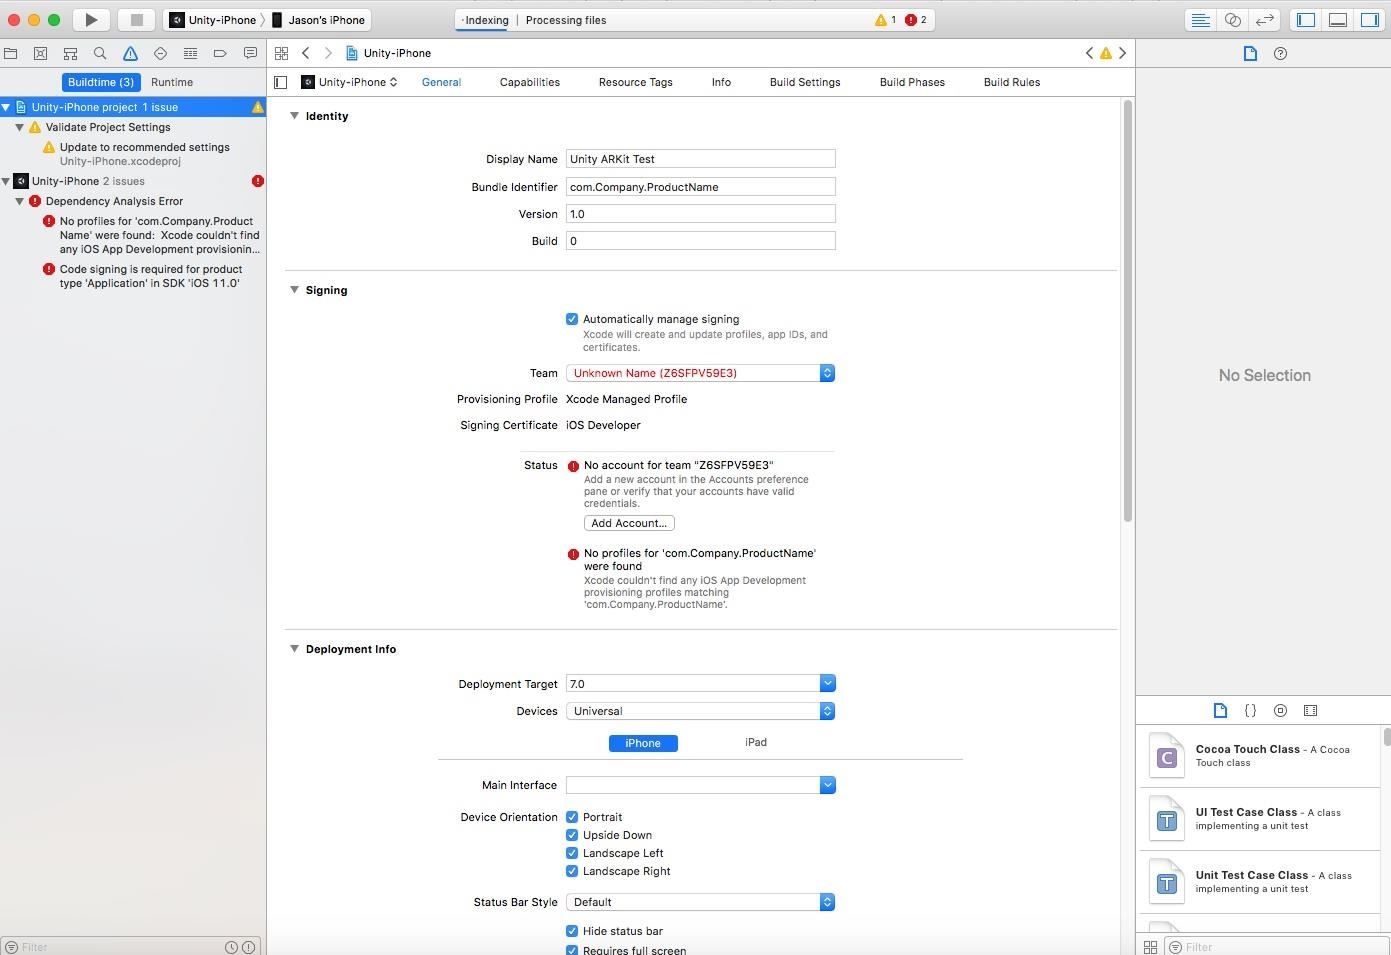
The one thing left is assigning out Team to the project so that we can compile it.
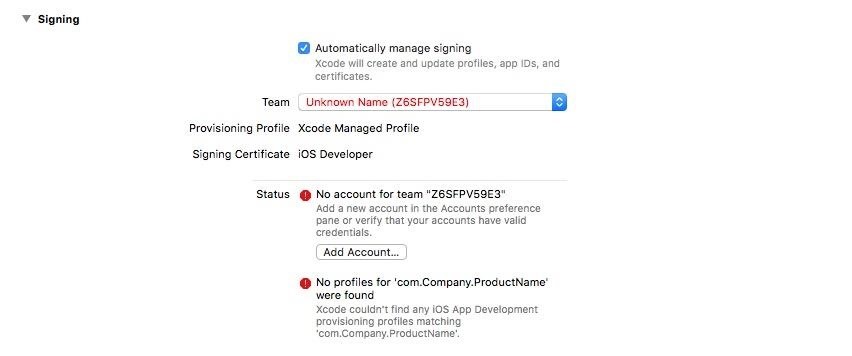
In the section labeled Signing, click on the Team drop-down and select your developer account.

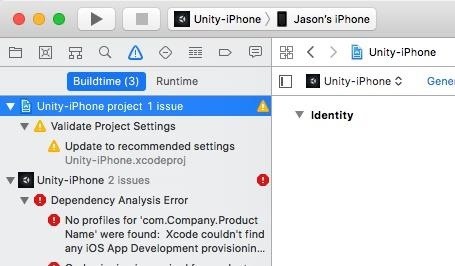
With that out of the way, look at the upper-left corner of the window. With your iPhone or iPad connected to your computer, hit the "Play" button. It can take a little bit to compile the first time.
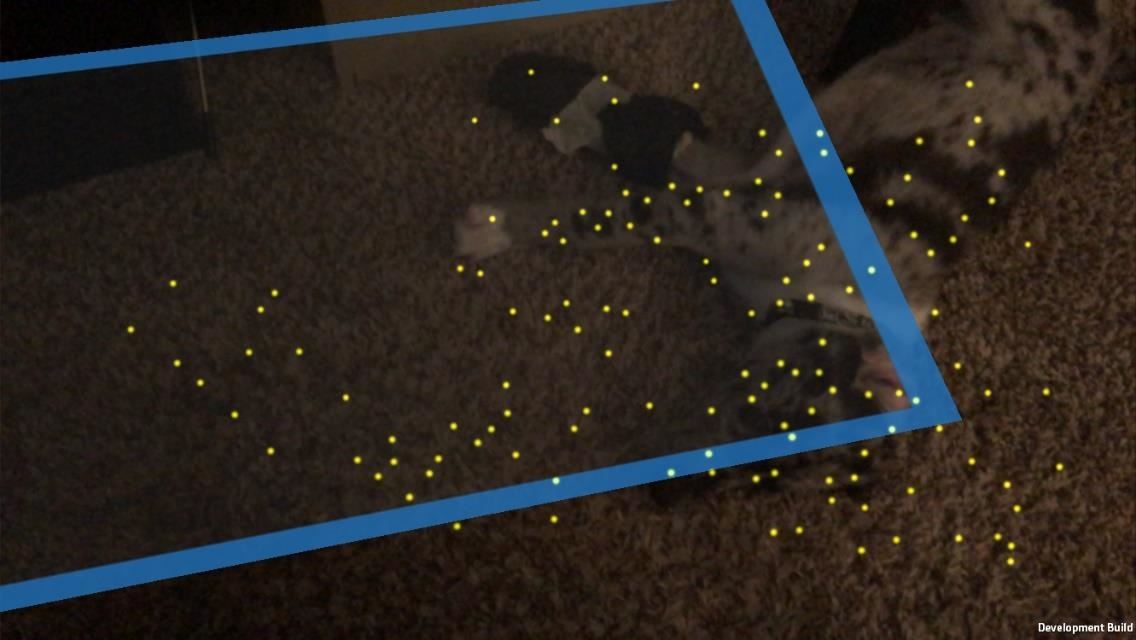
Once it is done, you will be able to look at the point cloud information and surfaces that the system detects.
Just updated your iPhone? You'll find new emoji, enhanced security, podcast transcripts, Apple Cash virtual numbers, and other useful features. There are even new additions hidden within Safari. Find out what's new and changed on your iPhone with the iOS 17.4 update.


2 Comments
Does this only work on an iPad and iPhone 8 and later iPhones? I seem to be having troubles building on iPhone 6s +.
Please help after following the steps i got to xcode and got the following error
"Use of undeclared identifier 'ARWorldTrackingSessionConfiguration' "
Share Your Thoughts