


The reveal of Apple's new ARKit extensions for iPhones and iPads, while not much of a shock, did bring with it one big surprise. By finding a solution to surface detection without the use of additional external sensors, Apple just took a big step over many — though not all — solutions and platforms currently available for mobile AR.
What this means to a serious AR developer is that you do not get to ignore what Apple is doing. And since we can't ignore it, we need to learn about it. Next Reality has you covered on that front. Here starts a series of tutorials exploring the capabilities of the beta Xcode and ARKit that Apple has released to developers.
A Few Quick Notes Before Jumping In
First, you will need a Mac computer unless you are made of magic. Unlike other operating systems, Apple has been really strict about this. There are likely a few hacks out there that may allow you to get away with compiling on other operating systems. We won't cover that.
Second, you will need an Apple developer's account to download the necessary tools to get started. This service costs $99 a year but gives you access to macOS and tool releases before everyone else.
If you have these points covered, then you are ready to get started. Let's do this.
Install the Software You Will Need
Log into the Apple developers website and click on the "Downloads" button. If your developer account is active, you will see a collection of beta software options.
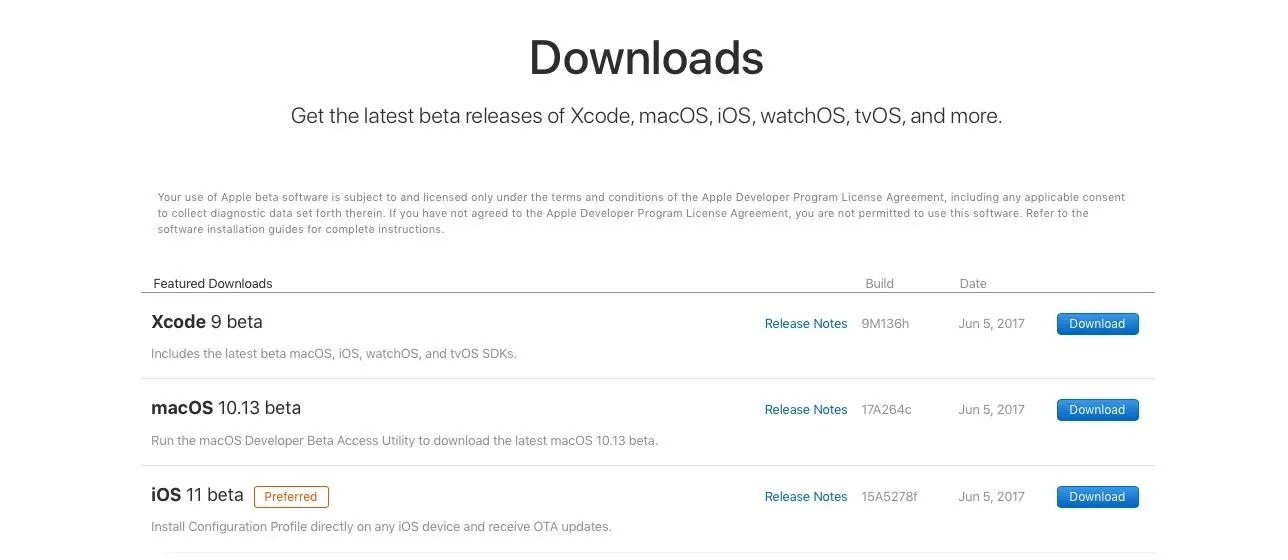
Here is the software you will need to install in order to get started.
Download and install the Beta versions of macOS 10.13 and Xcode 9 on your Mac computer. Also, install the iOS 11 beta on your iPhone or iPad. This process will take some time, so see you when you get back. We will wait right here.
Create a New Project
Once everything is installed and ready to go, it is time to open up Xcode. Click on the icon with the blueprint and hammer and you will be faced with the "Welcome" screen. First, we need to start a new project. In order to do that we need to click on the "Create a new Xcode project" button.

Xcode will load up its main page and bring up a template selection page. Templates simplify the process of getting started by allowing the user to start with a framework for a project closely resembling the type they want. On a very basic skeleton frame, of course.
Select the Augmented Reality App icon and click the "Next" button.

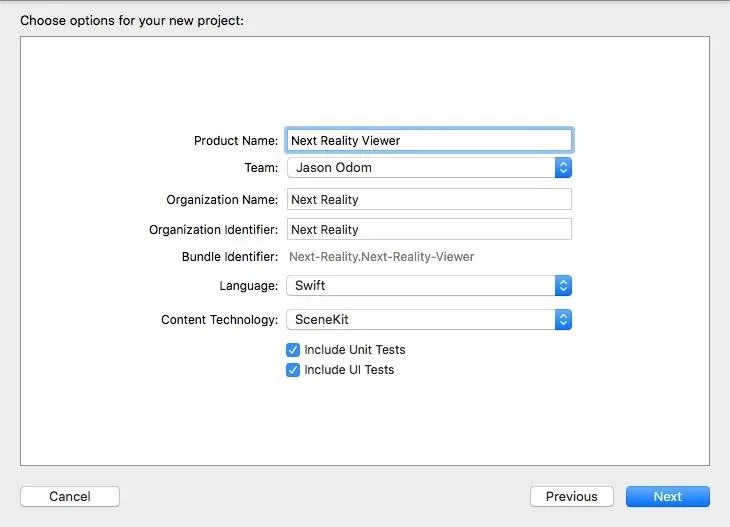
The project options panel will appear. Here we will name the project and link it to our developer account. Make sure SceneKit is currently selected under Content Technology. When you have everything looking like you want, click the "Next" button.
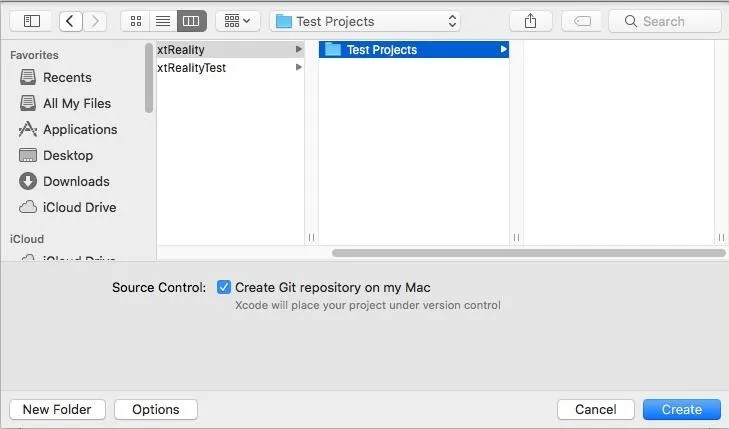
Now we need a place to store our project. Create a folder in the folder selection window and click the "Create" button.
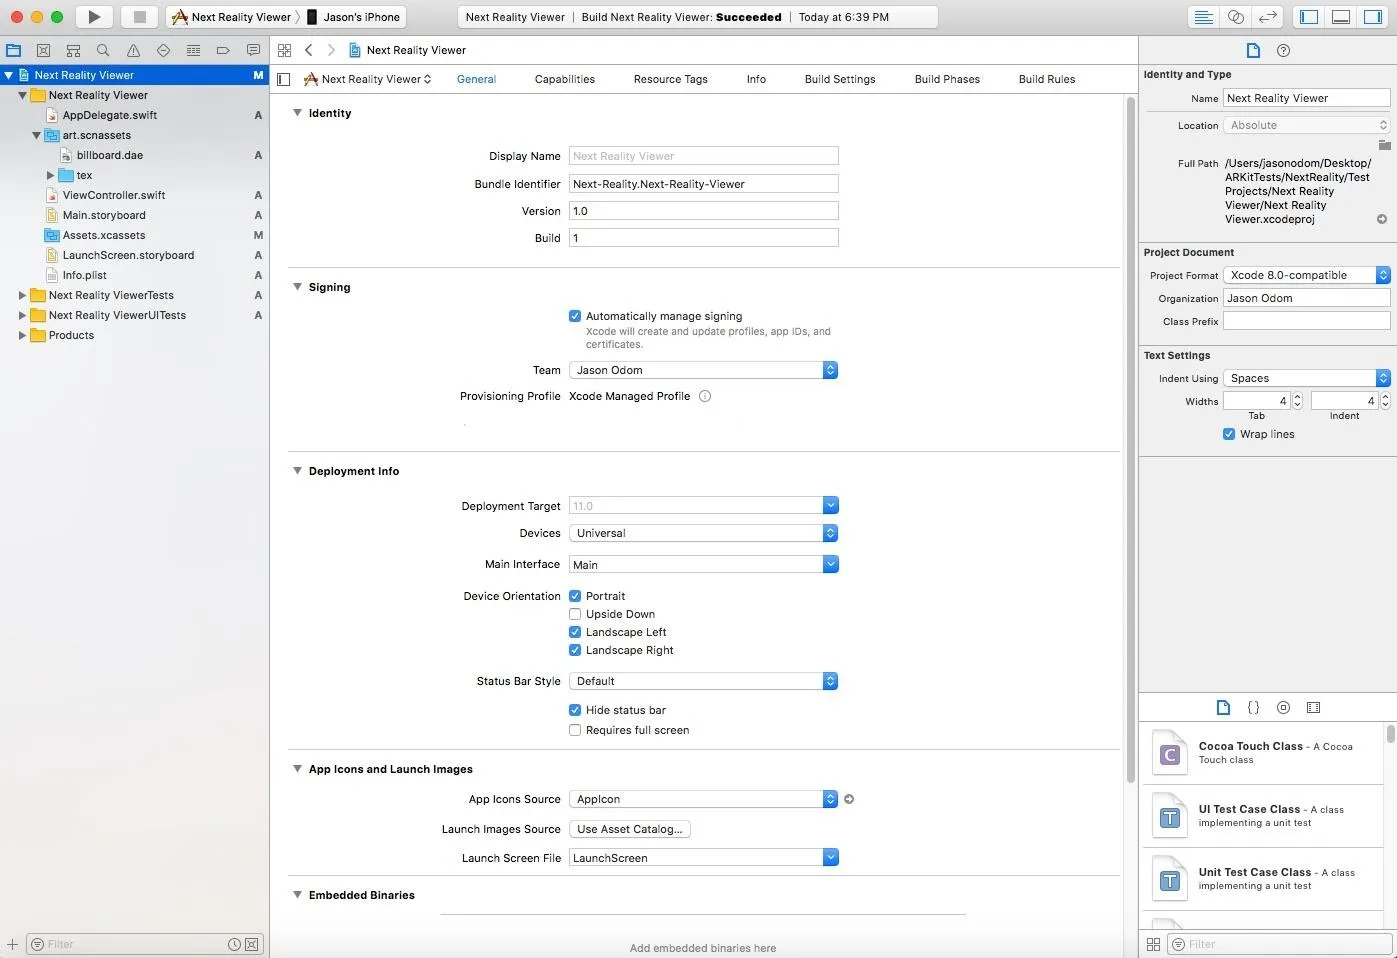
Once everything loads up you should see something along the lines of this:
Modify the 3D Model
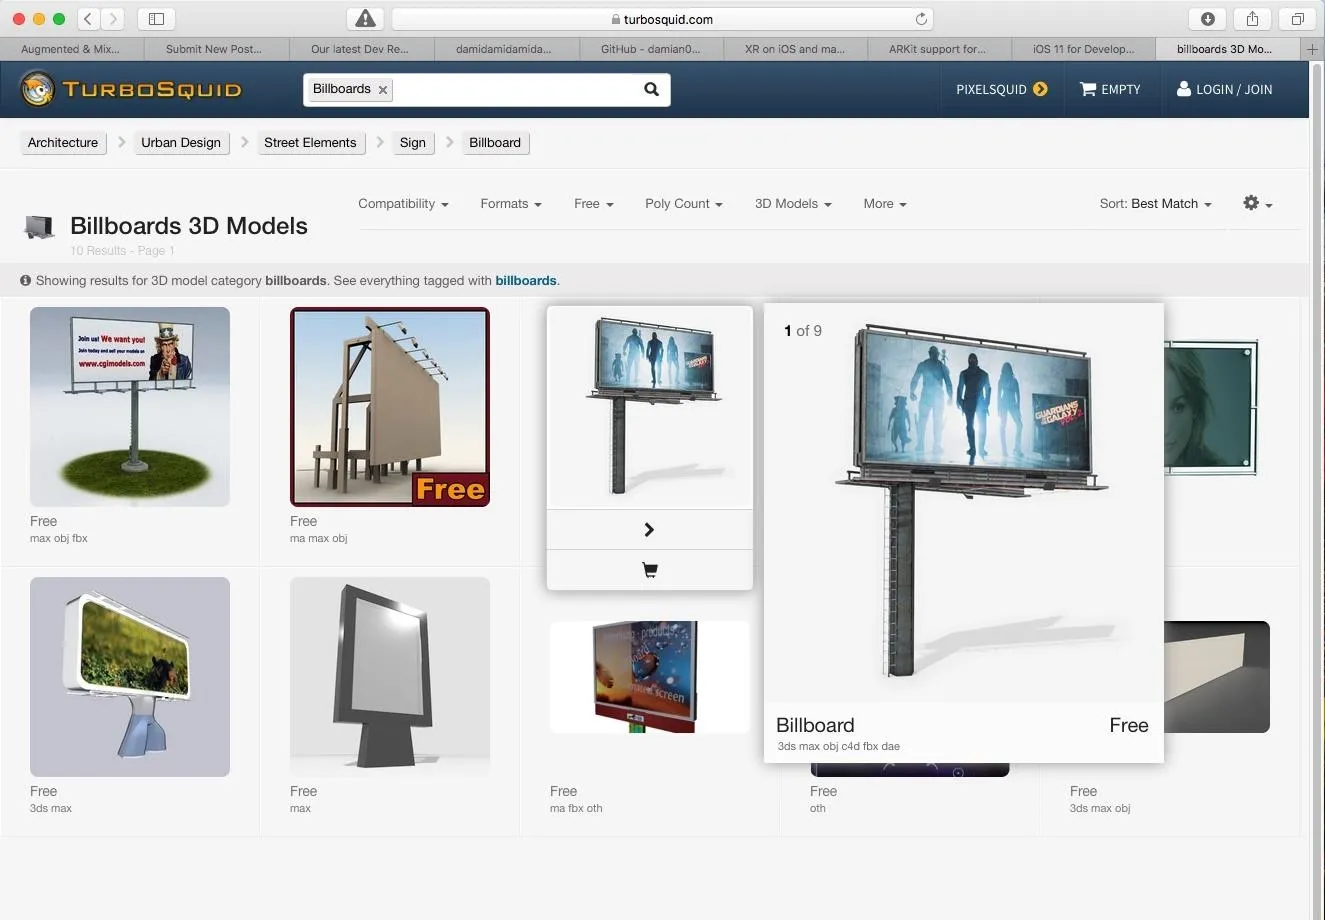
In this step, we are going to find a 3D object from TurboSquid, a 3D model marketplace. We will find a billboard, and then we will replace the texture on the billboard with something a bit more custom. Right-click on the image below. Click the "Save Image As" option. Name the image "pict1.jpg" and click the "Save" button.

Alright, so head to TurboSquid's website and search for "billboards." If you like, you can refine your search to free. The model Billboard by MOTHERHUNTER is the one I chose for this tutorial. Once you have found the model, Download the "dae" version (you will need a TurboSquid account).
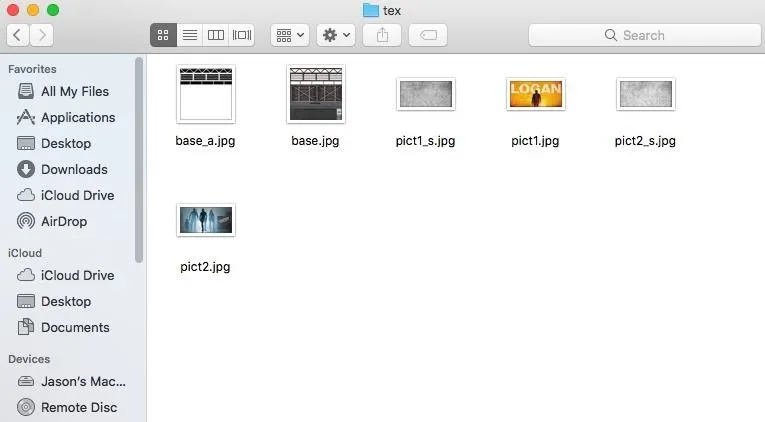
Now let's replace the billboard textures with the Next Reality logo. Unzip the file to a directory. Once it is finished unzipping, you should see a folder icon. Open the folder and you should see the billboard.dae file and a "tex" subfolder for textures. Go one step deeper by opening the "tex" folder.

Here we see all of the textures being used to make the billboard look like an actual billboard.
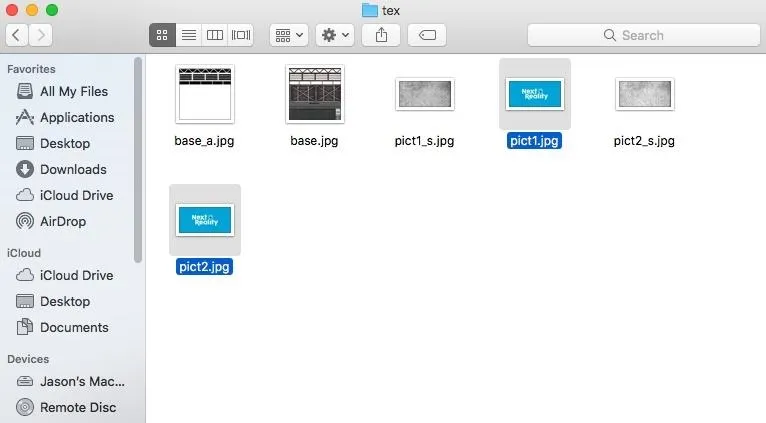
Now simply replace "pict1.jpg" and "pict2.jpg" with copies of the Next Reality banner from the beginning of this step.
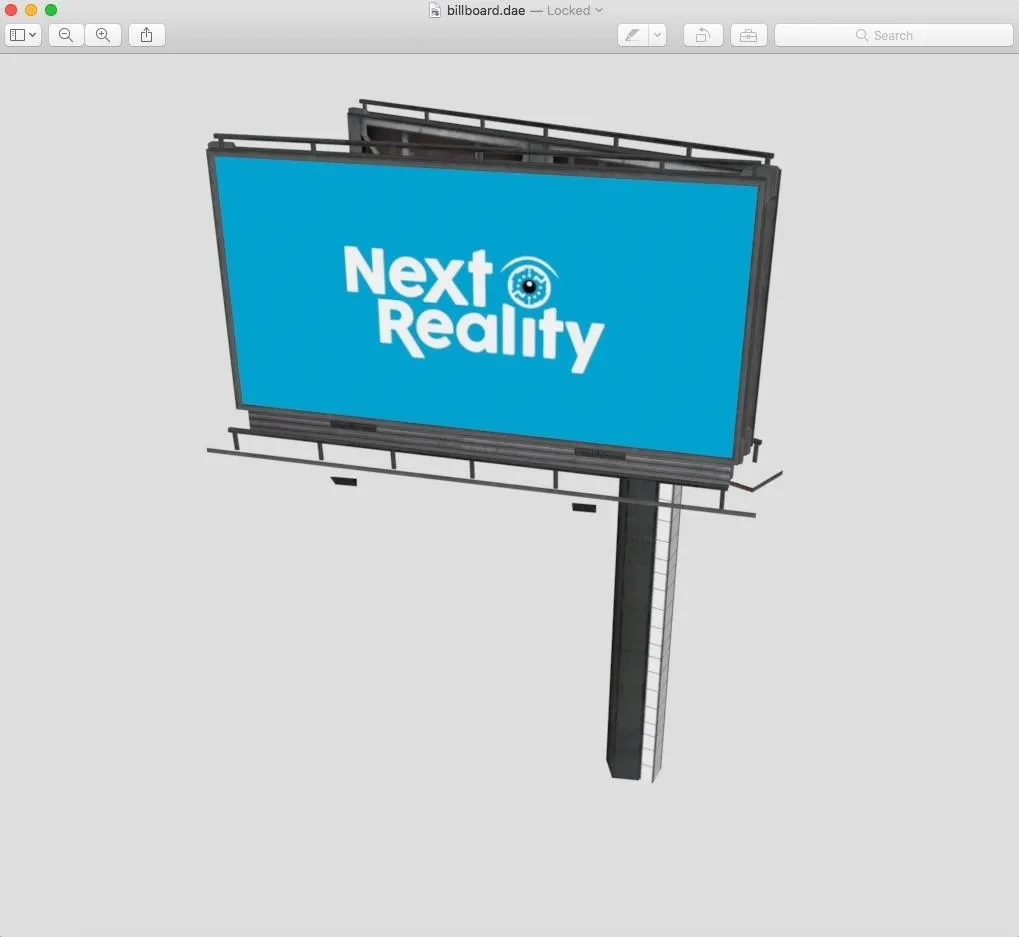
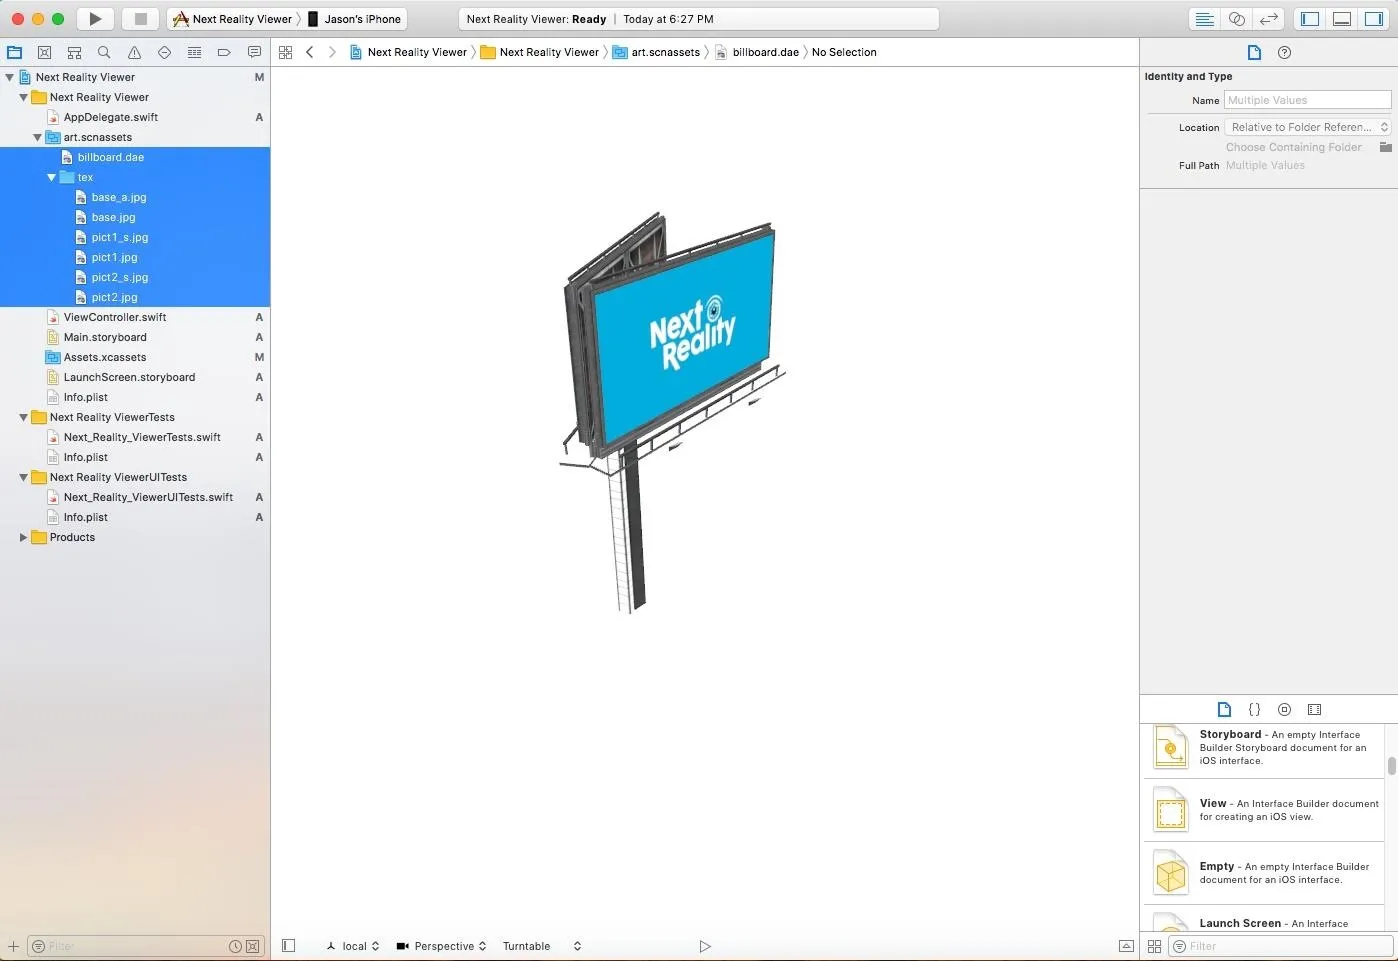
If you go back to the previous folder and double-click on "billboard.dae," you should see this:
Now that we have our 3D model we can move into the hard stuff. Just kidding, it is pretty simple.
Add Our 3D Model to the Current Project
So the default template project comes with a 3D model which we need to replace with the one we just created. Looking through our Project Navigator, find a folder called art.scnassets. This is the spot we are looking for.
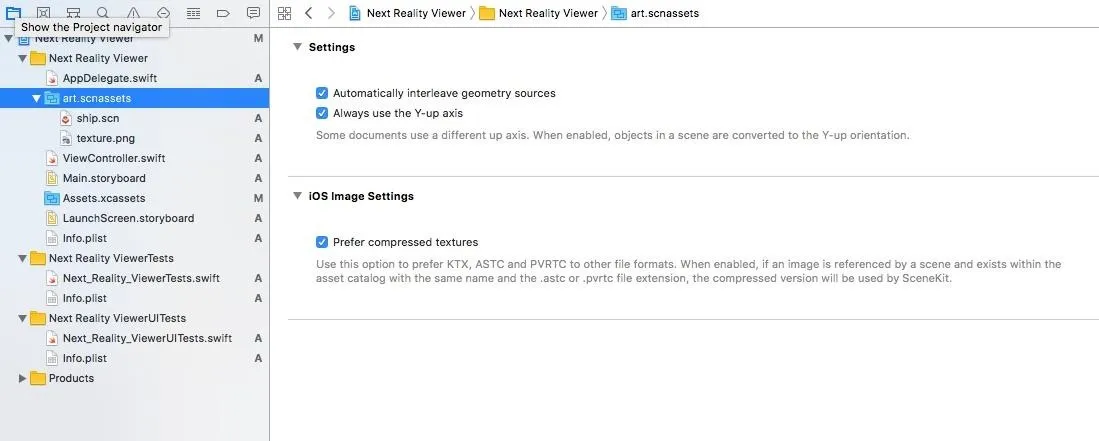
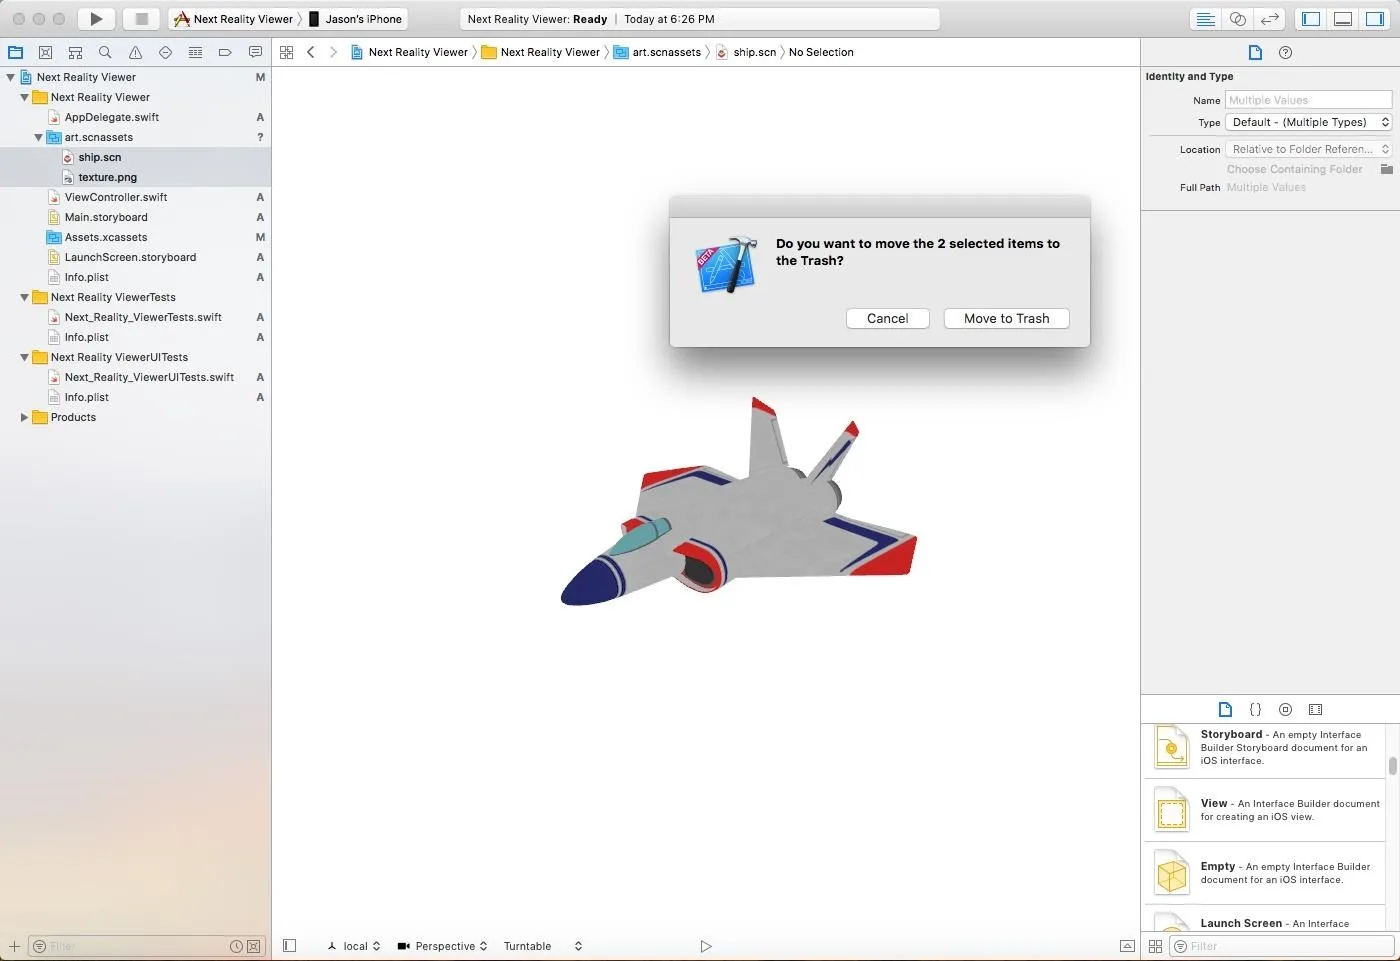
Select "ship.scn" and "texture.png" and hit the "Delete" key.
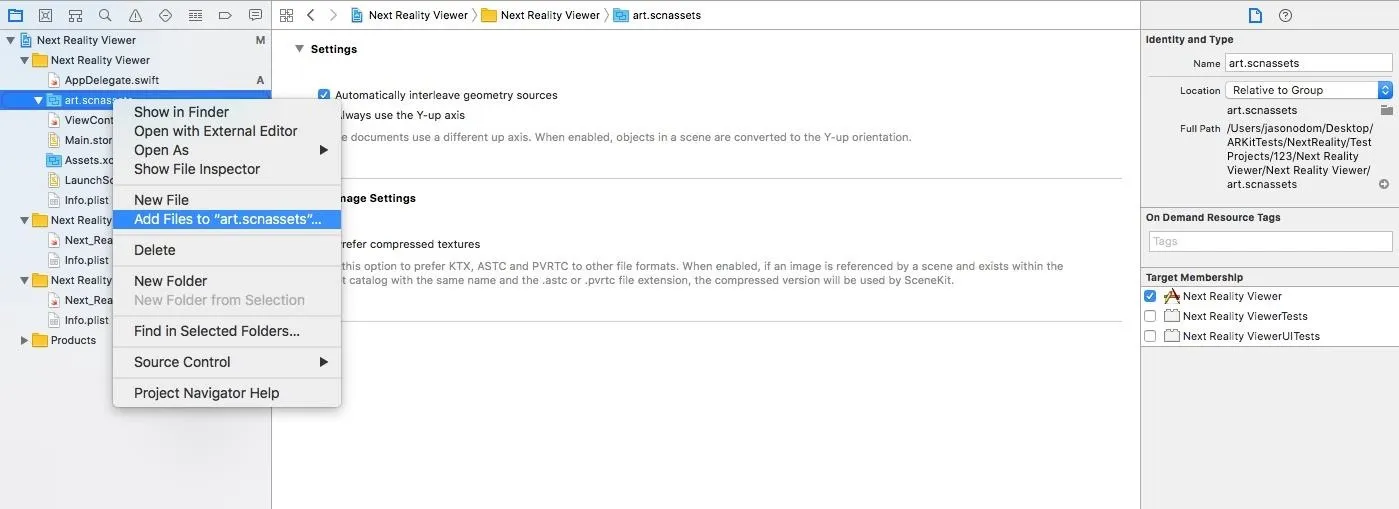
Holding down the Control key, select the "art.scnassets" folder. A menu will appear with options, select "Add Files to art.scnassets."
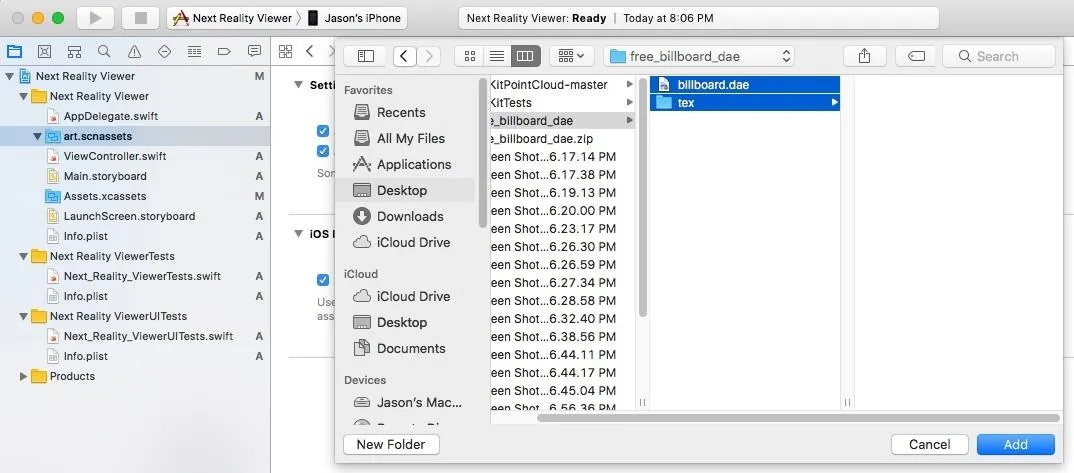
In the window that appears, navigate to the location that has the "billboard.dae" file and "tex" folder. While holding the Shift key down, select both "billboard.dae" file and "tex" and click the "Add" button.
And now we have our custom model in our project.
Put the Model in the Correct Spot
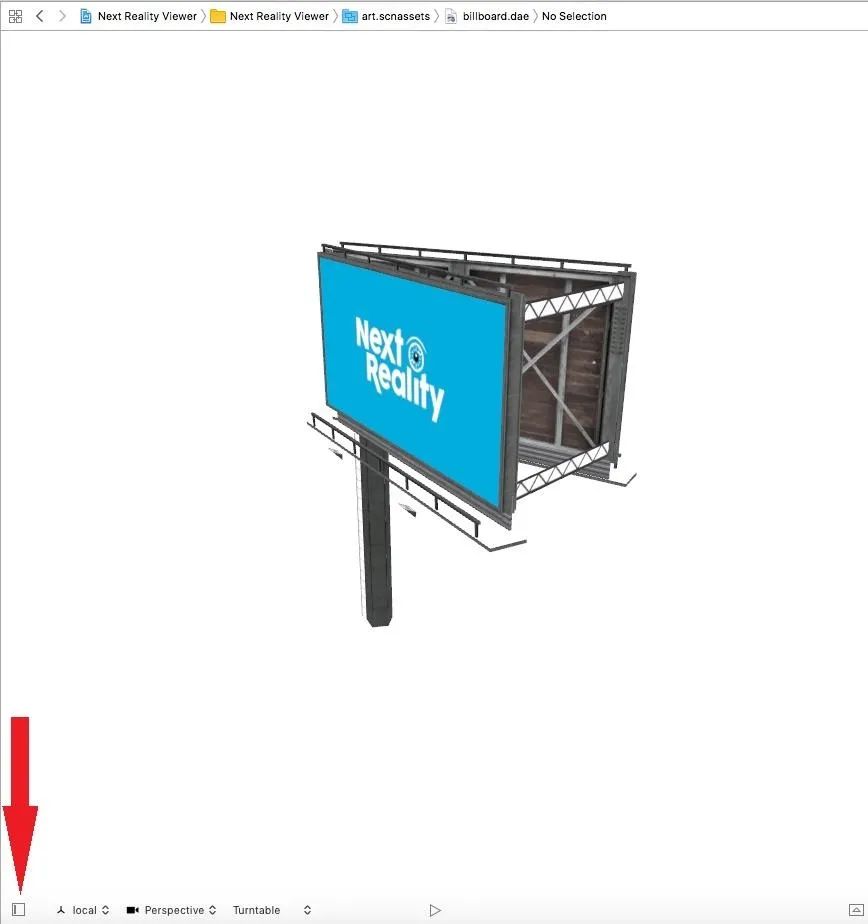
Now we need to get our model positioned, rotated, and scaled correctly. Make sure the "Billboard" object is selected. We need to open up the Scene Graph. In order to do that, we need to click the small icon the red arrow is pointing to in the screenshot below.
Clicking the icon will open a side panel in the view labeled Scene Graph. Select "Billboard" directly under the Scene Graph label. Now press Control-Command and the 3 keys to bring up the Node Inspector on the right side of the screen.
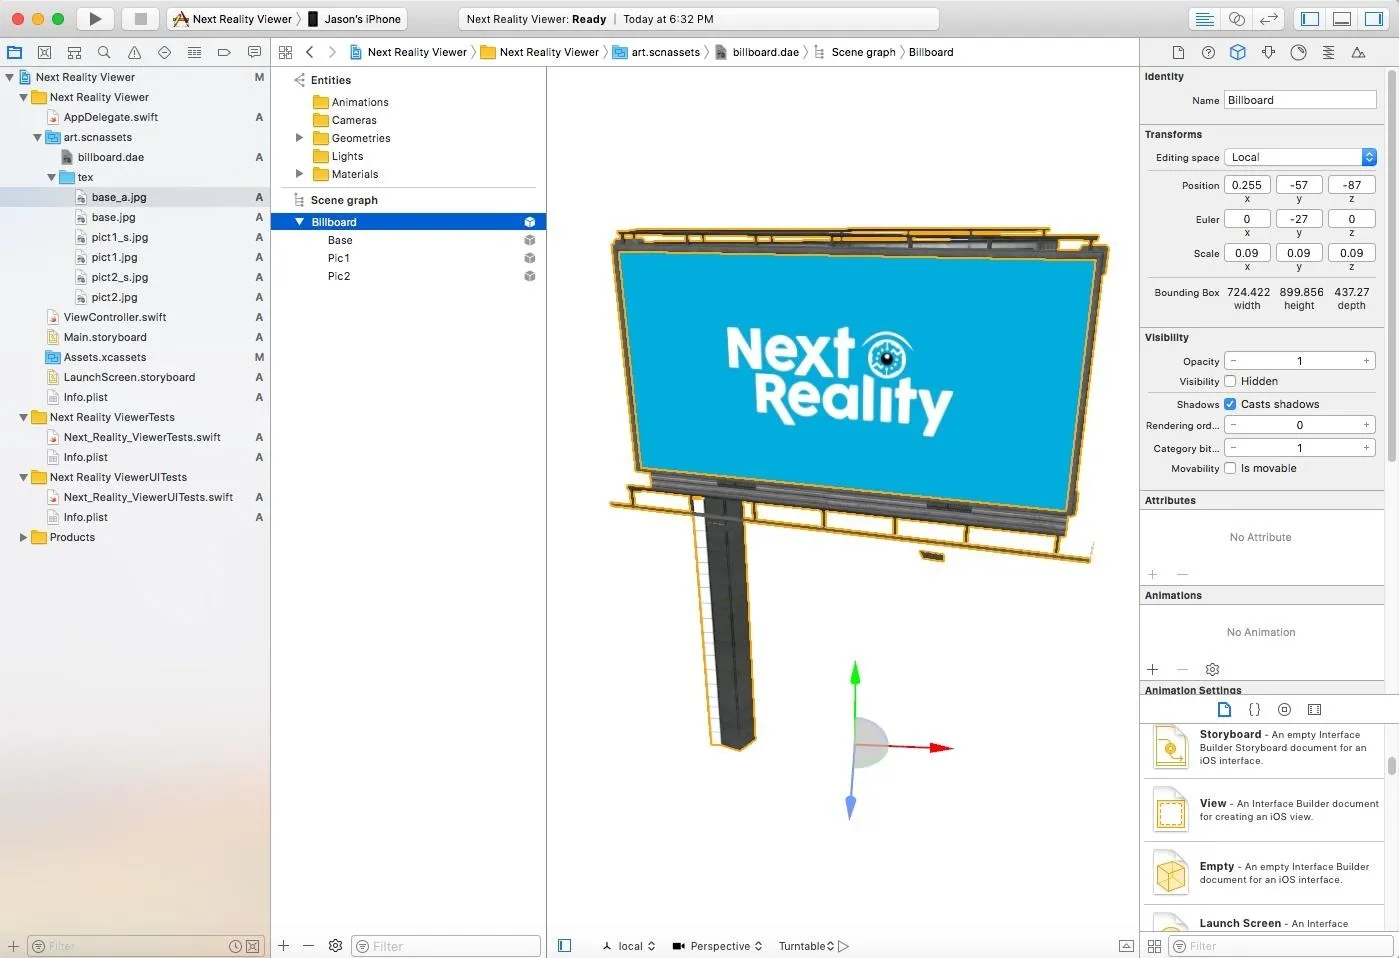
In the transforms section, we need to manually type in the setting we want.
Position:
- x: 0.255
- y: - 57
- z: -87
Euler:
- x: 0
- y: -27
- z: 0
Scale:
- x: 0.09
- y: 0.09
- z: 0.09
Unfortunately, there was no quick way to find these numbers, just a process of trial and error.
Write Code & Build
Well, writing code is a bit of an exaggeration, but change a line of code felt too long. That said, we need to change one line of code in the ViewController.swift file. Double-click on that file to open the code in the main window. Scroll down through the code to the line with the highlighted text below. Now change "ship.scn" to "billboard.dae."
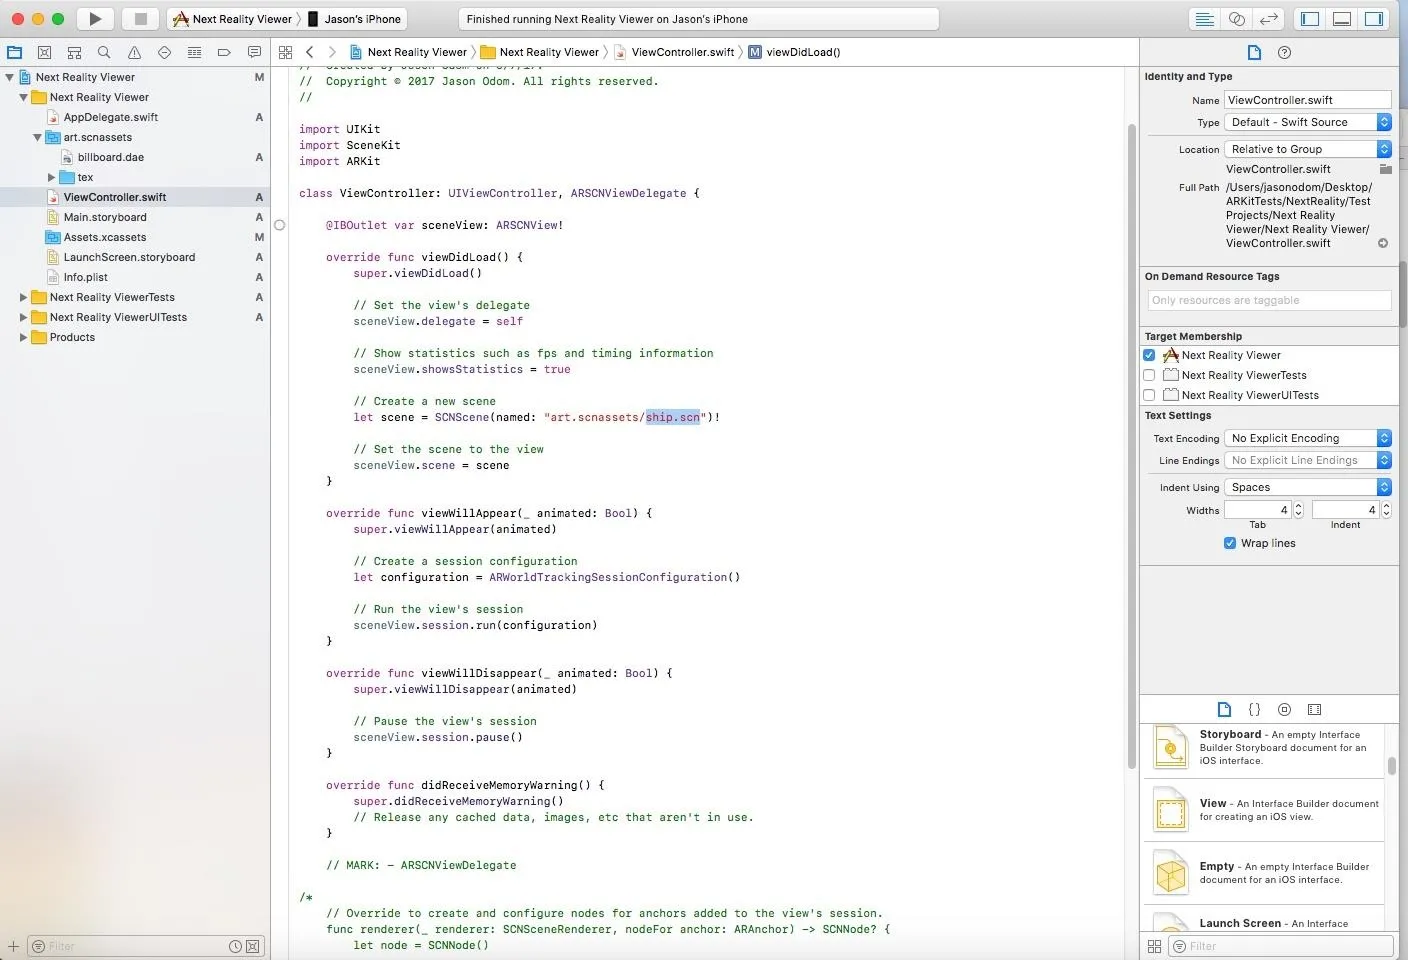
The new line should read:
let scene = SCNScene(named: art.scnassets/billboard.dae")!
And with that, we are done! Make sure you have your iPhone connected to your Mac and hit the play button at the top of the window. Also, make sure your device is unlocked.
Once the computer finishes the building process and uploads the software to your iPhone, you should see something that looks like this:
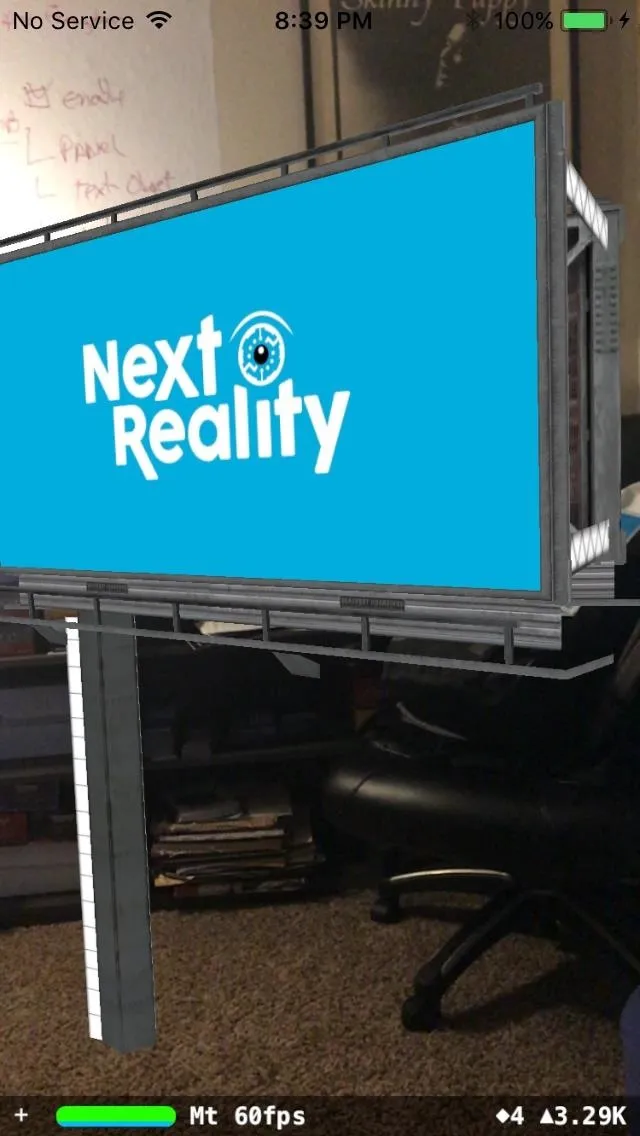
This project is about as simple as you can get — a 3D model viewer, no surface detection, no interaction other that tracking. We will dig deeper as we explore the world of iOS AR development.
- Follow Next Reality on Facebook, Twitter, and YouTube
- Follow WonderHowTo on Facebook, Twitter, Pinterest, and Google+
Cover image and screenshots by Jason Odom/Next Reality


Comments
Be the first, drop a comment!